Categories
Custom Fabrication Gold Coast Recorders Technical

RCA OP-6/BA-2 Hybrid Mic Pre Amp: Listening Test/Shootout

Alright!  So earlier this week I described the successful completion of the RCA OP-6/BA-2 microphone preamp.  Check out this previous post for all the construction and technical details.   The short story is: the RCA OP-6 is one of the most fetishized vintage mic preamps out there; I have always wanted to try one out; the easiest/cheapest way for me to do this was to build one (or at least as close as I could get).  The problem is that the input stage requires a special attenuator device, exact values unknown; therefore I had to substitute an input stage from another device.  I chose the input stage from the RCA BA-2, as I have built many of these and they always work great.  The result: a hybrid of the OP-6 and the BA-2.
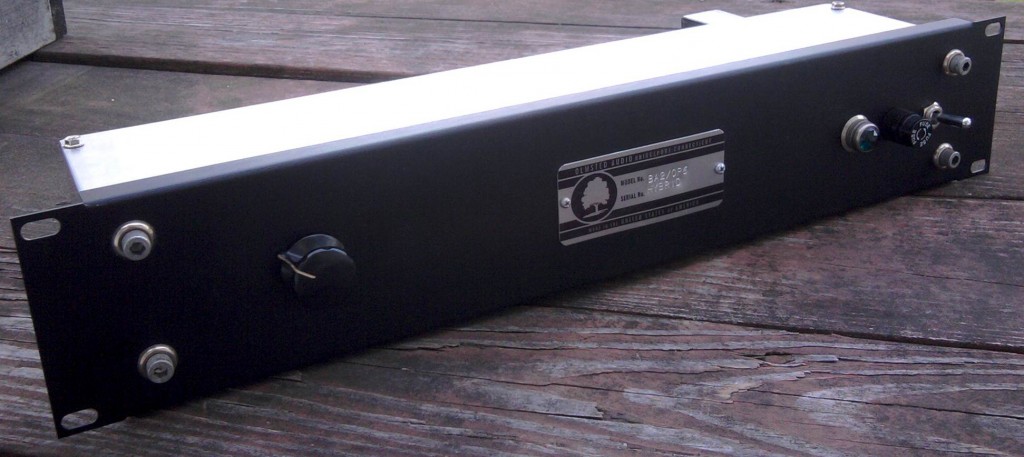
OK so there it is.  Anyway, the very helpful+generous TW came by to help me out on this one.  I wanted to try the OP-6/BA-2 Hybrid (hf. OBH) on a couple of different sources with a couple different types of mics. We a/b’d the OBH with an API 512.  I use the API 512 as a benchmark for mic-pre shootouts because it’s a high-quality unit that many people own and use regularly.  What you are about to hear are identical mics tracked through the two different preamps, direct to Pro Tools via a Lynx Aurora.  Levels were matched. No other processing, level adjustment, or manipulation was done.  You are hearing exactly what came out of the preamps.  To appreciate the differences between the units, you will need to listen to these files on good headphones or a full-range speaker system.   If you listen on a system with a subwoofer (we used the Blue Sky system at Gold Cost Recorders), you will hear some dramatic differences.
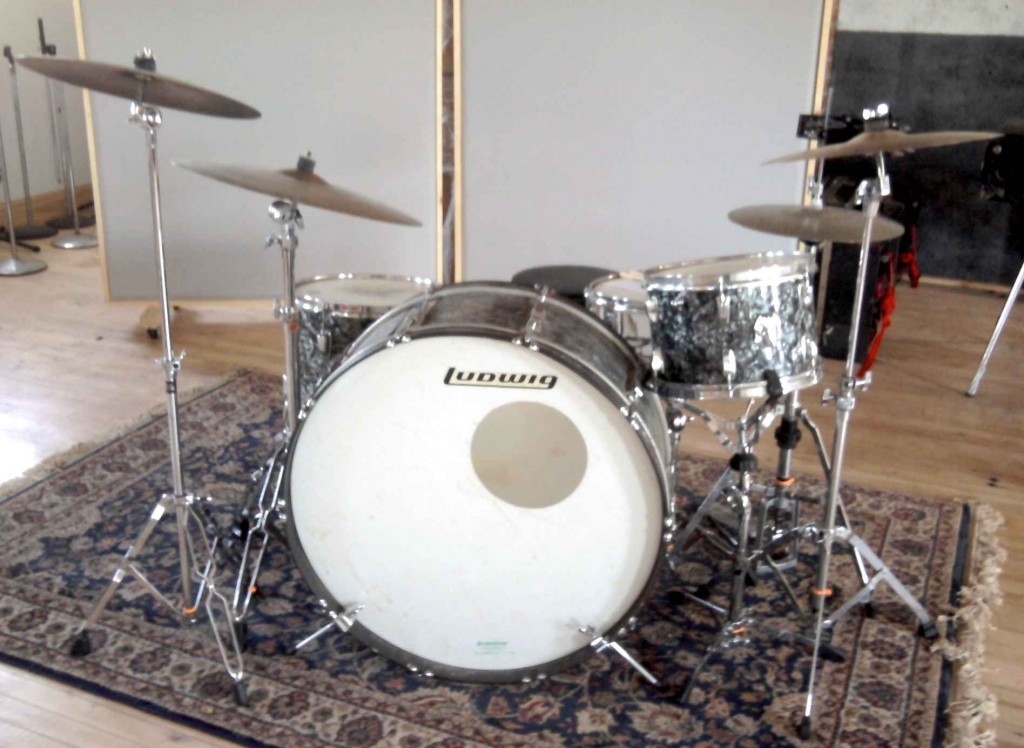
OK.  So first up: let’s listen to the drum kit above.  These are vintage ludwig drums, 30″ kick, 12″ and 14″ toms, 14×5 wood snare.  Cymbals are fairly dark old Zildjans.    You are hearing two identical Shure SM-81s placed right next to each other, approx 8 feet in front of the kit, pointed directly at the kit.  The 10db pads on the SM81s are engaged.  The SM81 is not the prettiest sounding mic, but they have a very flat frequency response.

First: here’s the API 512:

LISTEN: Drums_API

…and here’s the OBH:

LISTEN: Drums_RCA_hybrid

Our impressions were as follows: the OBH has more low end extension.  On the Blue Sky system, the kick drum in the OBH signal moved the room in a way that the API simply could not.  The API seemed to move the kit a little closer to the plane of the speakers, but at the same time the top end was not as in-focus.  There is a definite low-midrange boost going on with the API.  I can say this with relative confidence because I measured the frequency response of the OBH and it is totally flat from 15Hz – 10K, with only a very slight raise above 10K.  In terms of operation: the API gain control was at 3 o’clock; the OBH was at 9 o’clock.  WOW that is a lot of gain.
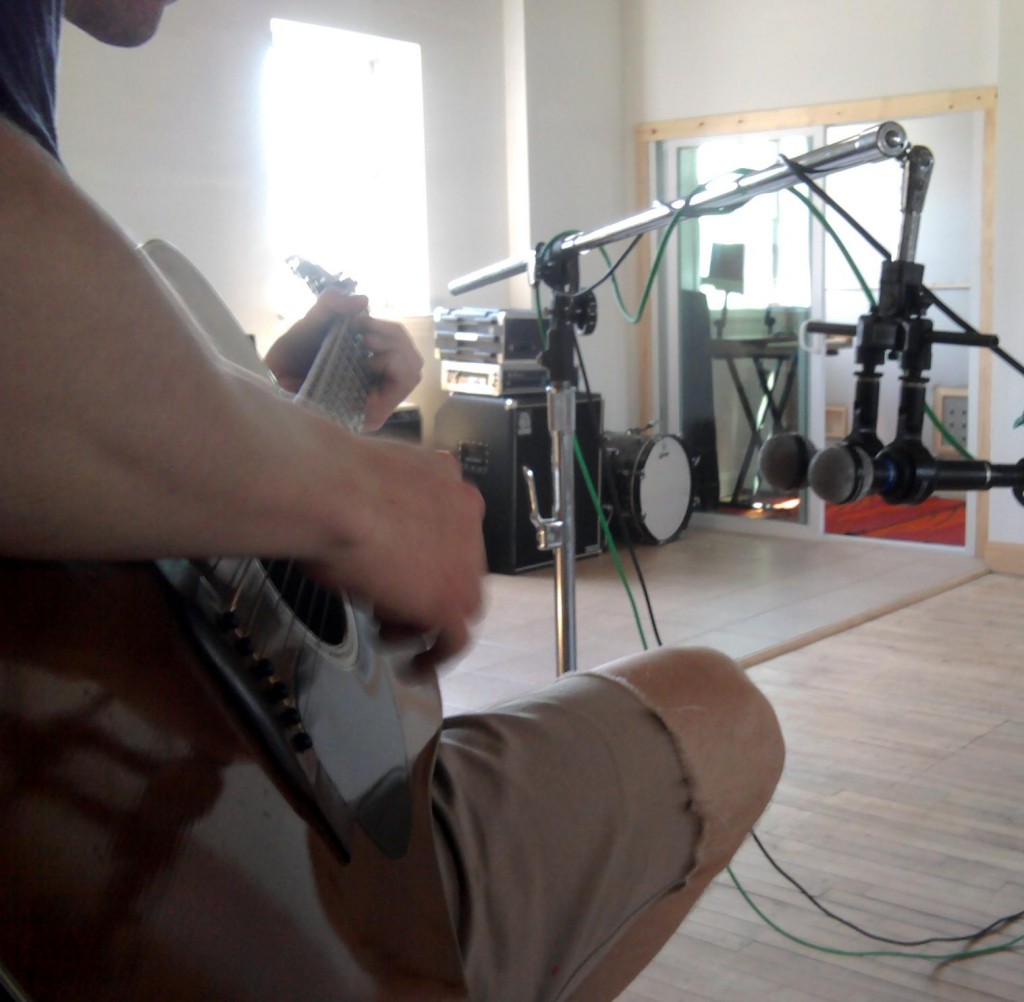
Next, let’s listen to some acoustic guitar.  TW played an old Martin D-19 (same as a D-18) that i mic’d with a well-matched old pair of Beyer M260s ribbon mics. The M260 has a built-in gentle roll off that starts at around 200hz
Alright so take a listen.  First, the API 512:

LISTEN: AcGtr_API

…and now the OBH:

LISTEN: AcGtr_RCA_Hybrid

Our impressions were that the OBH had more low bass but less low mids; it had a more ‘mellow’ feeling.  The OBH also had better high-end extension.   This also resulted in slightly more HVAC (air conditioning) room noise in the OBH.  Although I like the sound of the OBH again here, it is less of a clear-cut choice.  The mid-boost that API seems to deliver is very welcome in this particular setup.

In summary: TW put it this way: ‘(the OBH) is like a pair of gentle shelves (shelving EQs) on the very highs a lows.’  I think this is very accurate.  The OBH seems to give what I think of as an English sound: that sort of larger-than-life, hyper-real sound that UK records have always aspired to.  I highly encourage your DIY’ers out there to give this project a shot; you will find it to be a very useful tool.

Thanks again to TW for his help with this listening test; T’s band THE STEPKIDS is just back from LA where they did a direct-to-vinyl (!) live set in front of a studio audience (!!!) at Capsule Mastering Labs.  Check out the details of this very cool endeavor here and here.


Categories
Custom Fabrication Technical

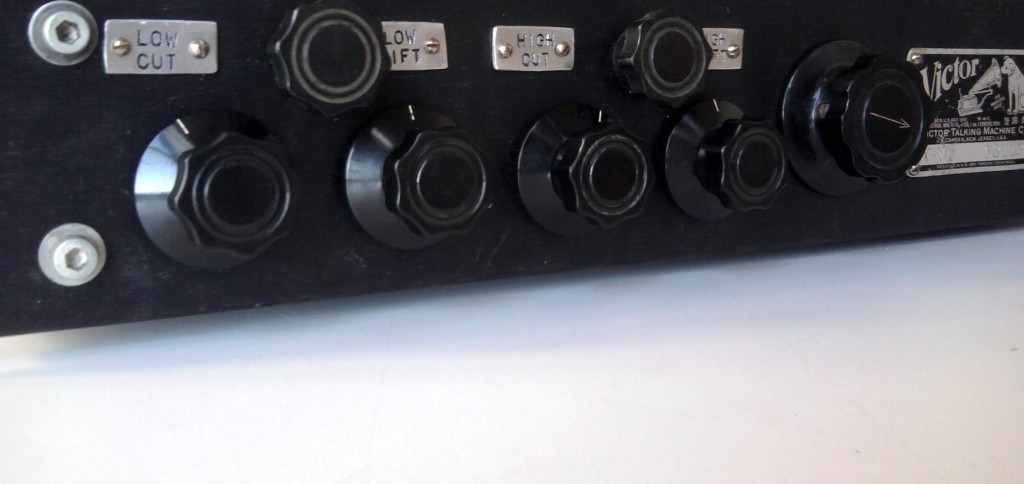
UPDATE: Vacuum Tube Program EQ project – Part 2

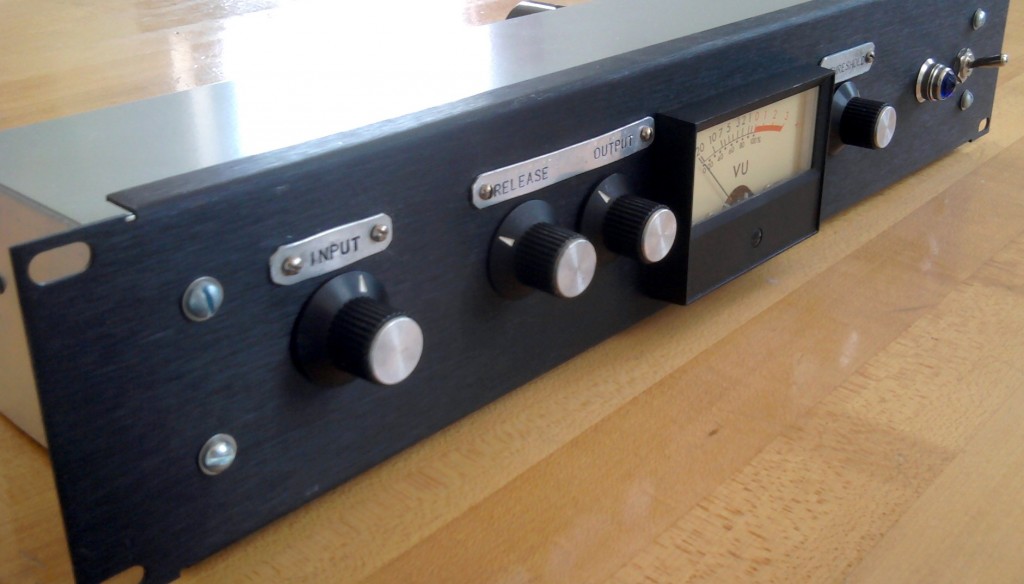
The vacuum-tube powered program EQ that I described in this previous post is nearly complete.  This thing has sat on the shelf for a while, as it was a little daunting dealing with all those parts inside a 17x4x3 chassis.  So far so good, though…  very excited to fire this thing up in a session.

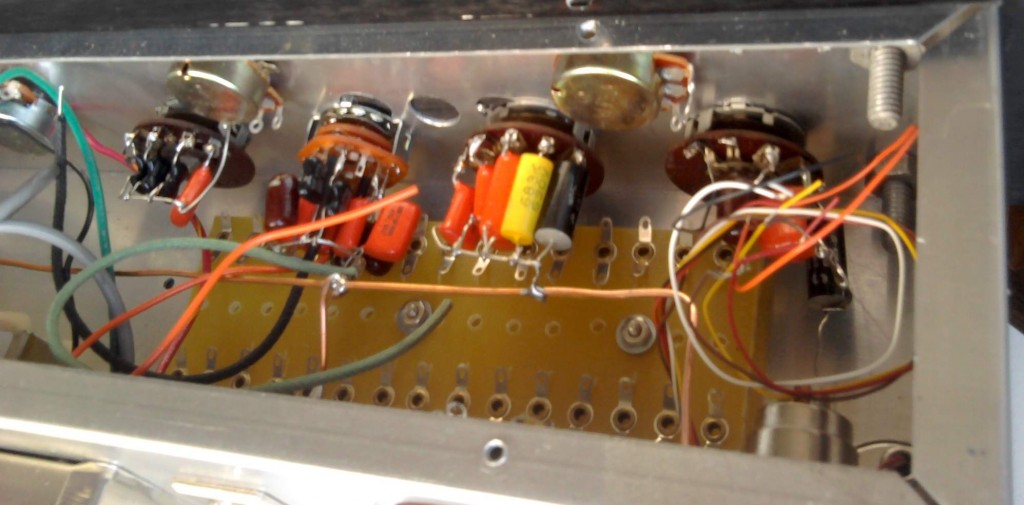
Here you can see the frequency-selection switches all wired up.   The switches are 5-way, single-deck switches with the exception of the hi cut, which requires a 2-gang switch.  The EQ has separate boost and cut sections, like a pultec, with 5 selectable frequencies for each.  The amount of boost shelving is variable via a pot, while the attenuation controls are fixed cut.  It would be easy to make the cut controls variable as well, but as you can see I am a little short on space!  I suppose I should use a 3U enclosure the next time.  Alright stay tuned…

UPDATE: This piece was finished, and it sold to a prominent producer/engineer before I had the chance to record a thorough demo of it.  It worked out very well. The circuit performed as-advertised, and the only problem was that it had a little too much gain – enough to use a mic preamp in the majority of situations.  Since it has sold it’s been used on several major records; when these albums are released I will provide links to some of the sounds tracked through it. 

Categories
Altec Custom Fabrication Technical

Altec 436 Compressor: Taming the output level: part 2

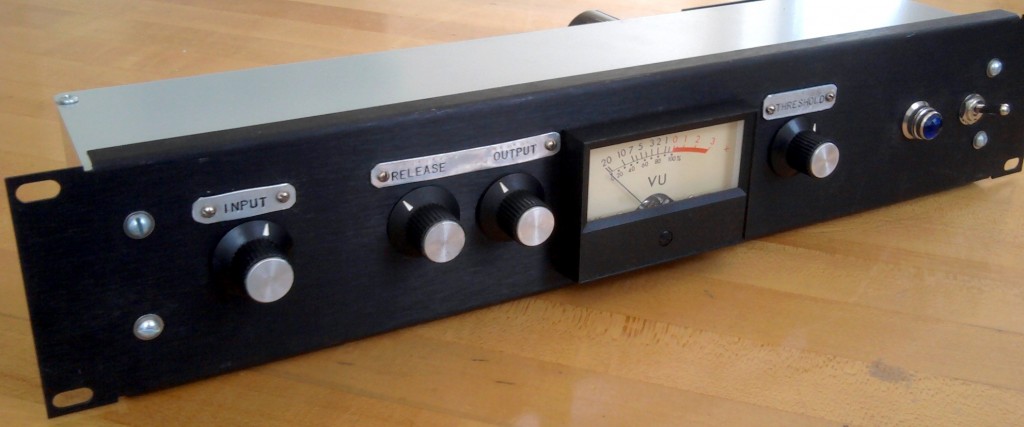
In a previous post, we looked at the Altec 436 vari-mu tube compressor.  I built one of these a few years ago, and it never really got used all that much because the output level is so hot.  The 436 is a very primitive compressor design, and it sounds awesome- but it was also built primarily for service is installed sound systems: industrial paging use, etc.  The stock 436 circuit adds a lot of level to your signal if you have the input level set high enough to actually cause significant compression.  I built an external attenuator box using a 600-ohm Daven T-pad attenuator and a UTC transformer to re-balance the signal, but this was not really an ideal solution.  The box was pretty big and heavy and I generally could not be bothered with taking it out and setting it up.

The solution came to me when I was examining the circuit of the Gates sta-level.   Here’s the schematic if you want to take a look.   Now, this may look a lot different than the Altec 436 schematic, but the differences are not too significant – other than the fact that the gates has a regulated power supply, the circuits function in the same way; the main difference is the particular types of tubes that are used.  Both are fully-balanced vari-mu compressors which are staged as (input transfo)-(attenuator pot)-(vari mu input amp)-(driver stage in Gates only)-(output amp)-(output signal rectified, timed,  and sent to grid of input stage to regulate input stage amplification)- (output transfo).

The Sta-level, however, has an output level control, whereas the Altc 436 does not.  So how do they implement this?

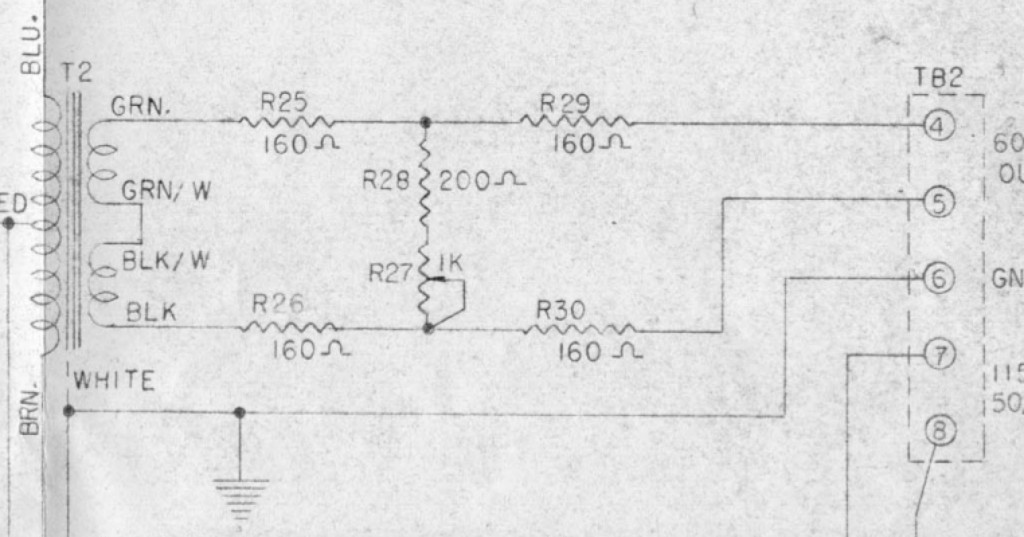
Pretty simply.  5 resistors and a normal linear taper pot give us an output loss that we can vary between 10 and 16db, while still maintaining a safe operating impedance.  In all fairness: the BEST way to do this would be to use a balanced H-pad variable attenuator, which would give us the ability to vary the output from NO loss to, say 20db or so; but balanced H-attenuators are crazy expensive and very large physically; too large to fit inside an altec 436 chassis, certainly.   Another option would be to use a variable T-pad after the output transformer, and then add an additional 600/600 transformer after the T-pad in order to re-balance the signal (there is a certain vintage vari-mu compressor that works this way, but i can’t seem to recall which; anyone?).  This solution is also not ideal from a cost and size perspective, although it would certainly be less expensive than the balanced H attenuator.

Anyhow, the major downsides to the ‘Gates-solution’ are: 10db loss is inevitable; output impedance will vary slightly with use of control; variation range is limited to 6 db span.  Well; i used my output modded 436 in a session yesterday, and for what its worth, here’s what I can tell you:  the minimum 10db loss is welcome – it put the 436 into the same basic operating range as my 1176 and Distressor; the impedance mismatch (into a Lynx Aurora) did not cause any audible problems that i could detect when used on guitars and drum machines; and the 6db control range was fine as well – i was dialing in levels and getting sounds into Pro Tools with no fuss.

****

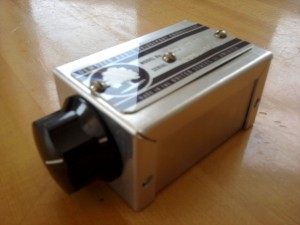
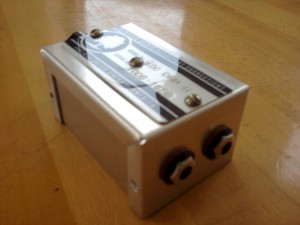
Before I drilled a fresh hole into the face of my 436 clone, I built the intended circuit into a tiny outboard box.  When the design confirmed itself, I added the circuit into the 436 itself.  But about this little test-circuit box:  it’s lightweight enough that it can simply hang off the patchbay, supported by the patch cables themselves.  Now every vintage mic preamp that I have can be given variable output control quickly and easily.  This will allow me to dial in extra-gritty sounds using the preamp gain control (which is generally interstage rather than input or output), and then use this little device to get the level back down to an appropriate level to hit the convertor.

If you own a vintage Altec 436 or 438 and you find that you have to battle the high output level, I highly suggest that you give this modification a shot.  It’s very easy to simply build it into an outboard project box at first in order to see how you like it before you drill a hole in yr Altec.  And if you use any vintage tube gear in the studio: try making one of the little boxed-versions of the circuit.  It will really open up some new creative and sonic possibilities for the gear you already have.

Categories
Custom Fabrication Technical

Recent Custom-Build Stereo Amplifier (Home Use)

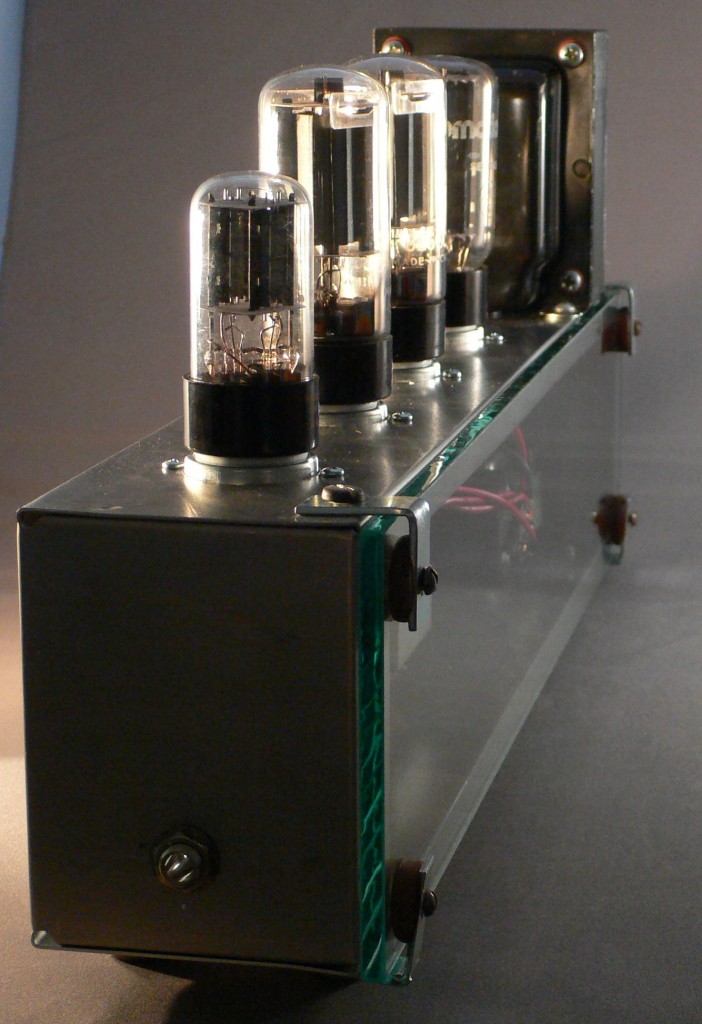
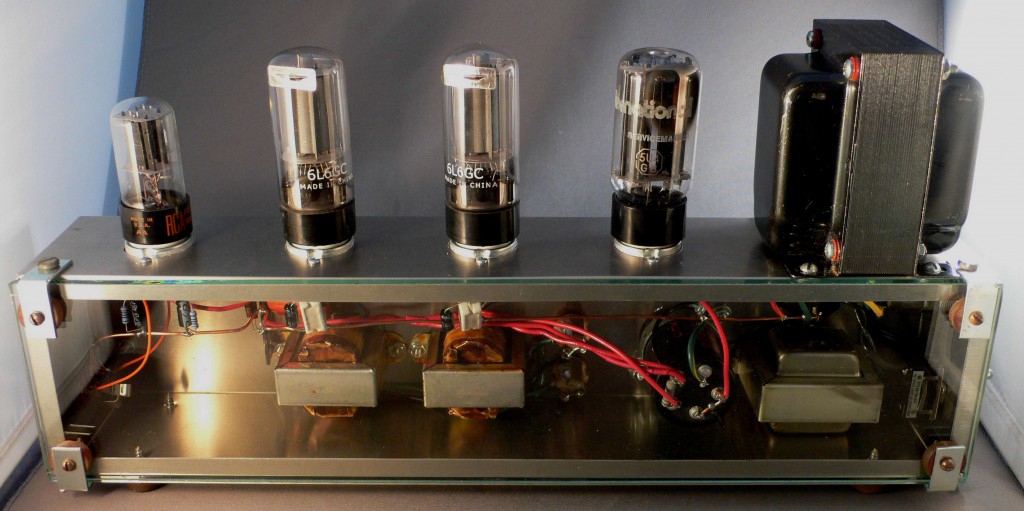
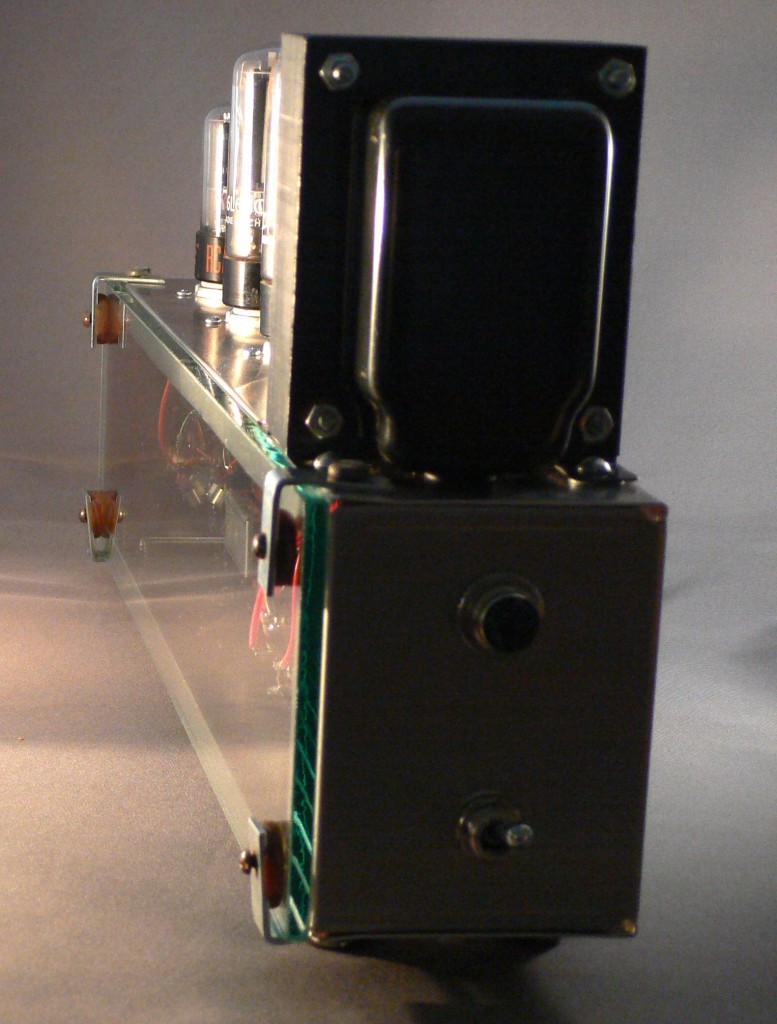
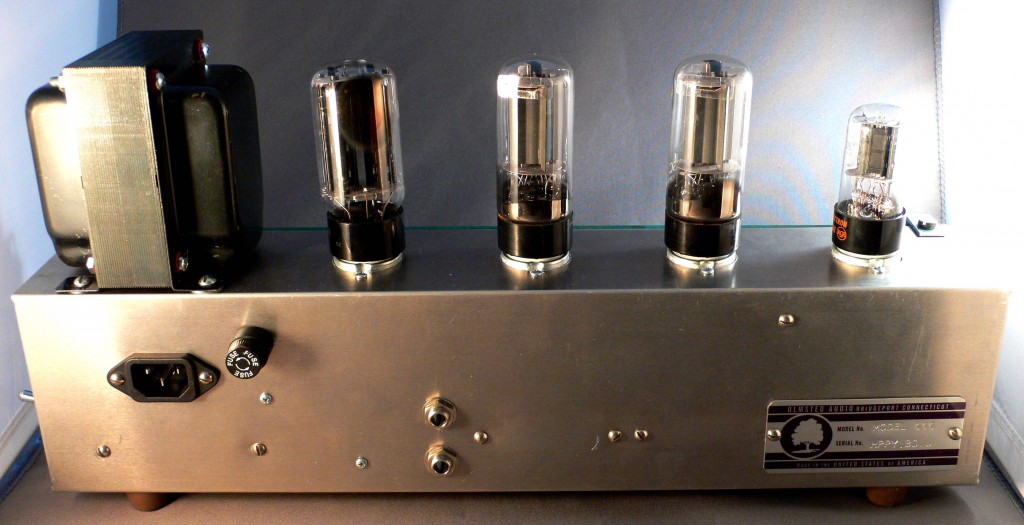
Above: a very minimal single-ended stereo amplifier with very low gain, designed to accept headphone-level input from an iPod or Laptop and drive a pair of loudspeakers.

The circuit design is extremely simple – Each 1/2 of a 6SN7 feeds the grid of a 6L6 through a .1uf capacitor.  There is a 3-stage power supply with a choke filter before the B+ hits the output transformer.   I have built a couple dozen of these, and the design works well – the sound is very clean and direct; the small 8w output transformers do roll off the very low end, but I have never found this to be an issue with the music that I listen to.   Easy to add a powered sub to the system if one was into rap or heavy orchestral music. BTW, I use this very same circuit, with the same components, for music listening at home; I have mine connected to the output of an Airport Express, powering a pair of Bose 201 speakers. For instances when customers have wanted to hook the unit up to a line-level (rather than headphone-level) output, I substitute a 6SL7 for the 6SN7.  This requires simply changing the cathode resistors on the input tube socket and gives 3x the voltage gain.

What interests me in this design is not the mundane circuit – it is the overall appearance/sculptural aspect of the unit.  I arrived at this particular form through consideration of the appearance of the vacuum tube; as much as possible, I have tried to make the overall complete unit an amplified echo of the tube itself.  The circuit is laid out extremely carefully and the components/wires color-coded (red for B+, orange for audio), green for grounds); it’s my perhaps naive hope that someone unfamiliar with audio circuits could look at/into this piece and maybe gain some understanding of the way that a tube audio amplifier works.

Categories
Custom Fabrication Guitar Equipment Technical

The Field-Coil Guitar Amplifier

(web source)

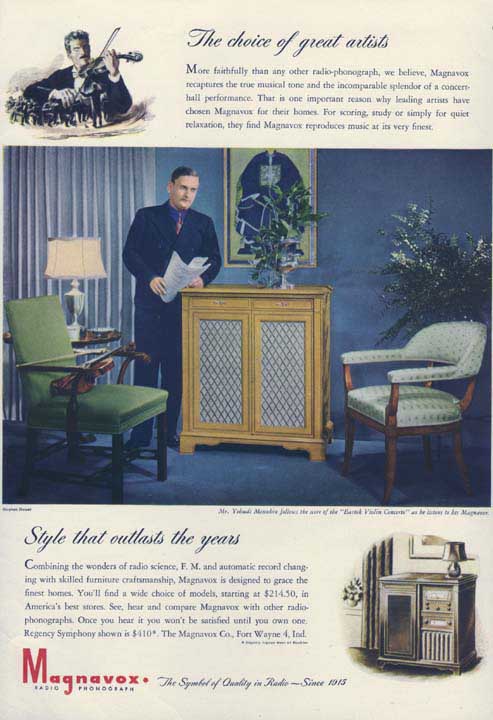
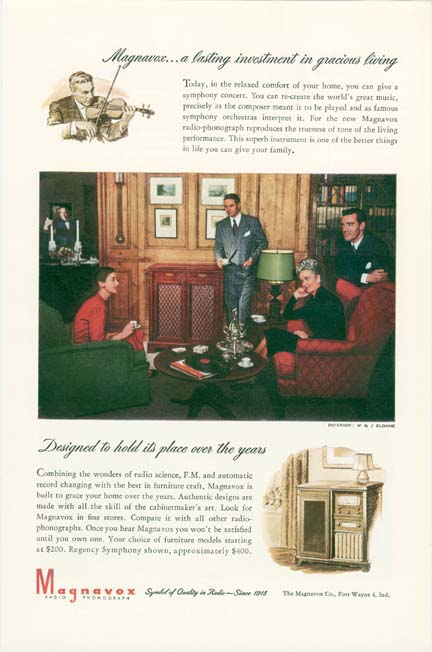
The year is 1946.  You are a man of the world.  Bold and sophisticated.  A true musical connoisseur.

(Web Source)

In your stately home you use music to relax and to entertain.  Your Magnavox Regency 155 combination Radio/Phonograph, with state-of-the-art dual 12″ speakers,  serves you well for many decades.  After many long and fruitful years, the day will come that you will pass into the next life; and then I will build a guitar amp from your Enormous Radio.

*************

******

***

When I did in fact purchase this gigantic ‘Instrument,’ as the manual called it, it was far too large to fit in my car.  So with some basic hand-tools I dissected my $25 dollar purchase in the faded parlor where it had sat for a lifetime.  I removed the radio chassis (mostly junk save for some 6J5 tubes), the later-added GE RIAA phono pre (sold on eBay), the 25 watt amplifier chassis (salvaged the tubes, output and phase-inverter transformers), and two 12″ Magnavox field-coil speakers.

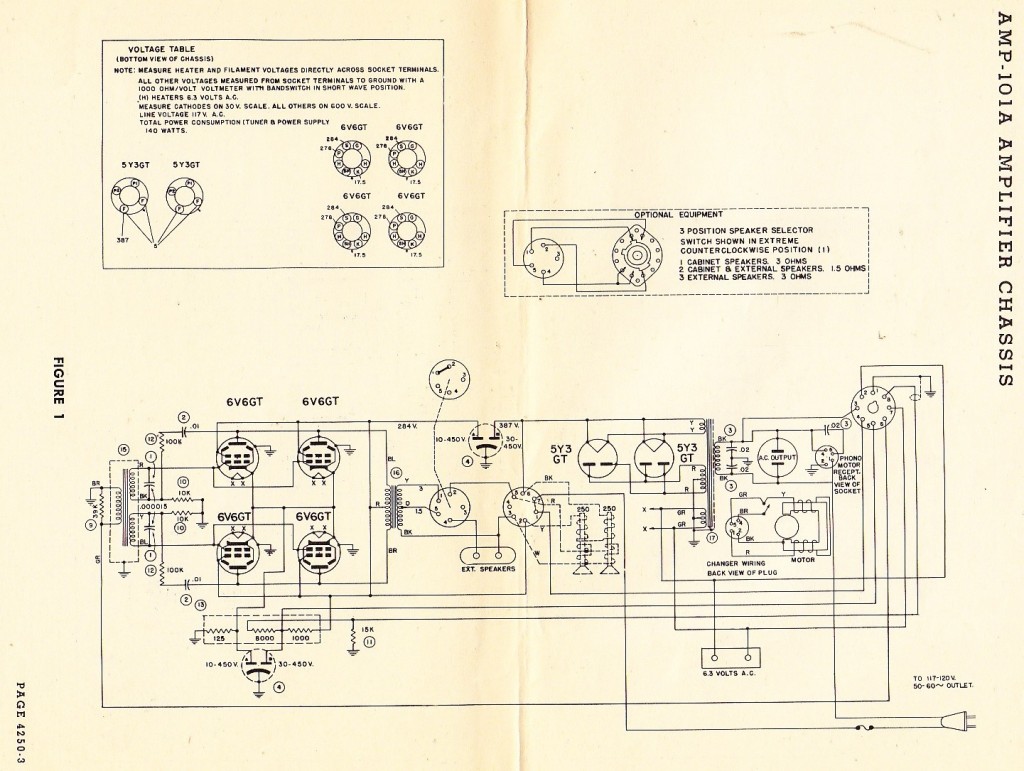
Luckily, my purchase came complete with all the manuals, service guides, and original warranty card.  Using the schematic I was able to see how the ‘field-coil’ speakers function in this type of amplifier.

In my previous post on field coil speakers, I went into some detail about this technology and its relationship to more modern speakers.  Now the time had come to actually build a working audio device using this antique technology.

I have completed the piece, and in this article I will describe some of the challenges faced, techniques used, and offer some audio examples of the end result.  This is a somewhat long article, so if you just want to hear the audio, skip to the end…

FOLLOW THE LINK BELOW TO READ ON….

Categories
Custom Fabrication Guitar Equipment Technical

some recent pieces

Last week was busy in the shop.

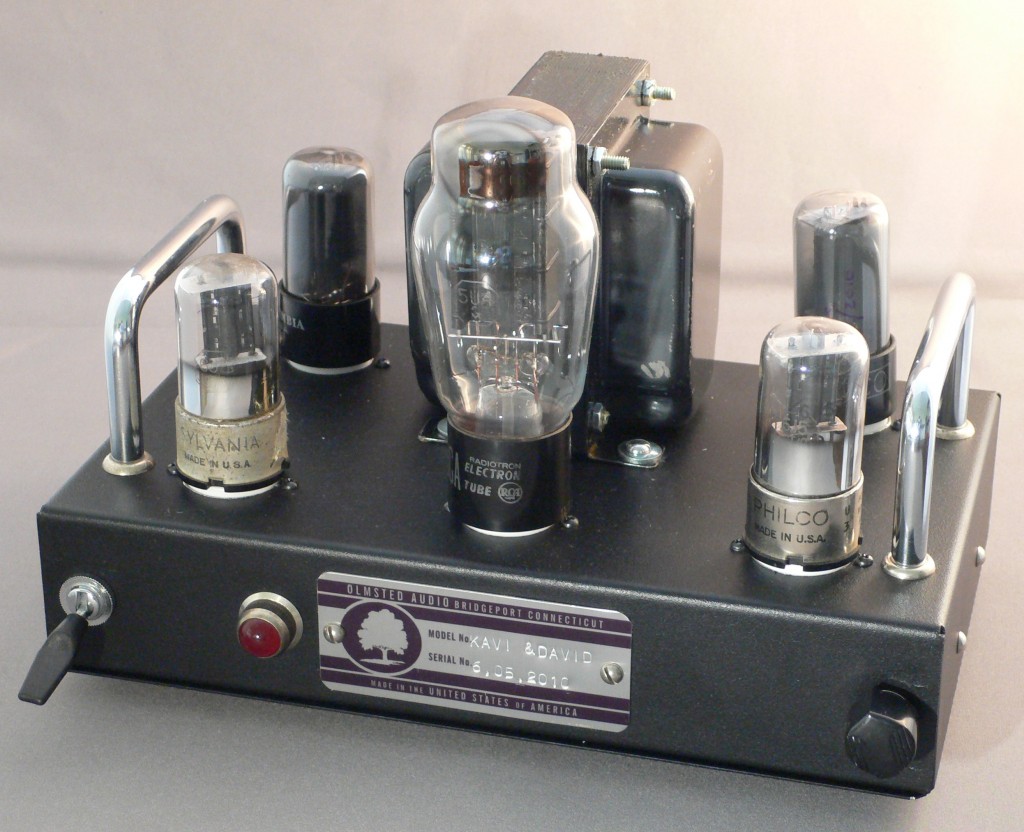
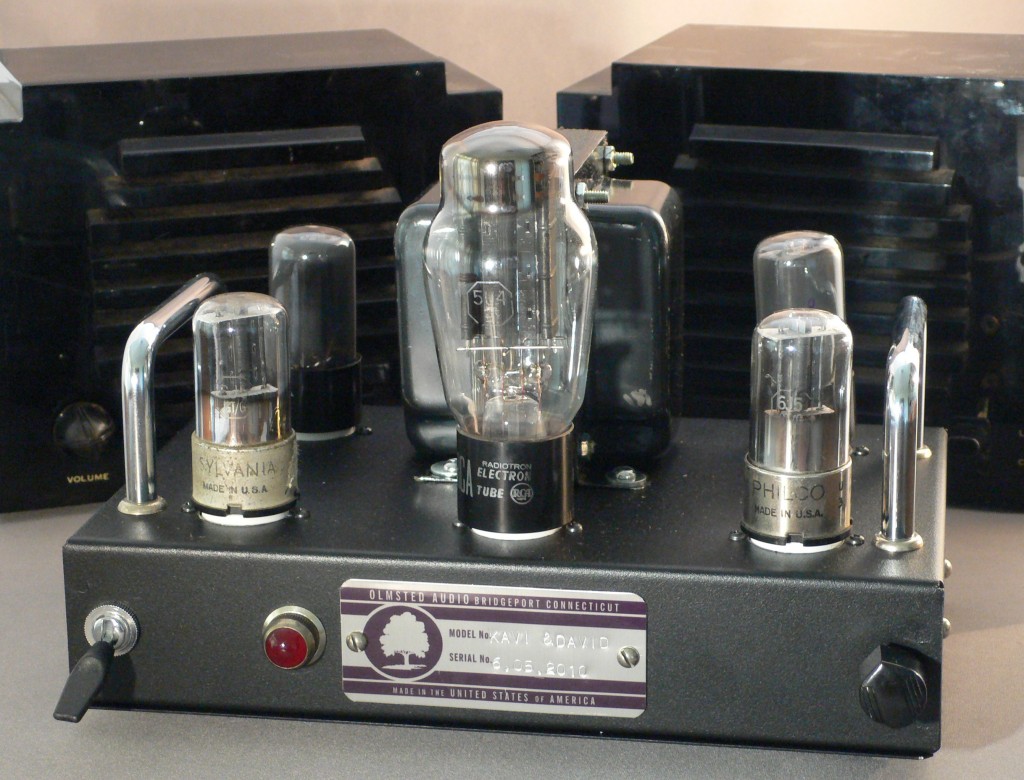
This is a 2-watt per-channel stereo power amp built for our friends K&D.  It is tiny (only 10 inches wide).  The form of the amplifier was driven by the styling of these beautiful black-lucite vintage speakers which complete the set.

The speakers were made by Speak-Easy Intercom of Kansas City, likely in the early 50’s.  They are handmade from individual pieces of black lucite.  I found them with the original base-station for the intercom, all in flawless condition.  I replaced the drivers in the speaker cabinets.  This tiny tube-audio system is intended as a casual background-music-listening setup for the home or office.

—   —   —

A couple more ‘Recycled’  Tweed Champ Clones were born last week as well.

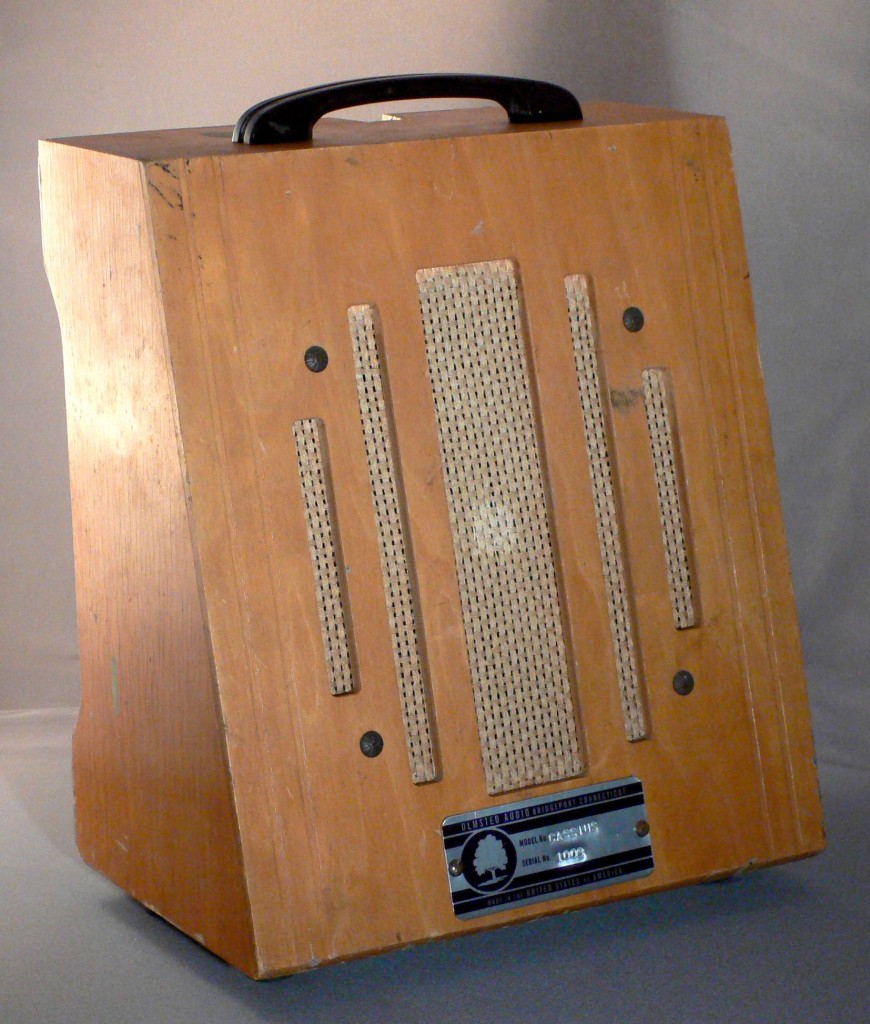
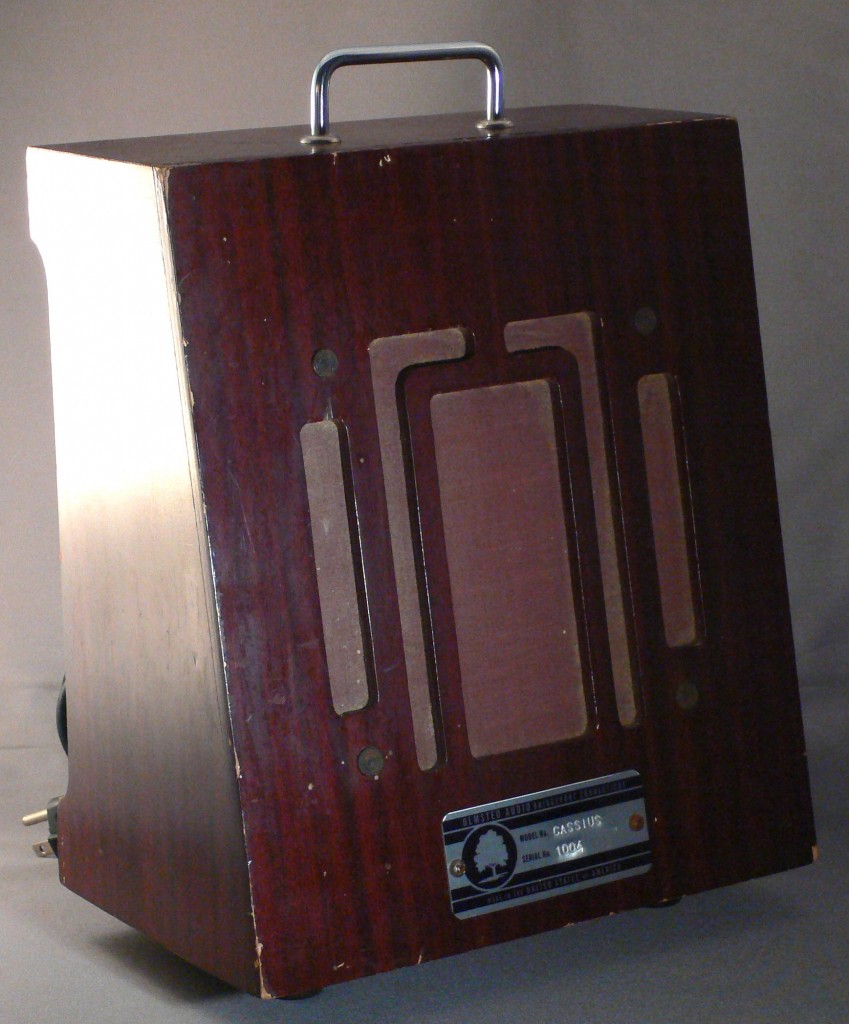
I have decided on the name ‘Cassius’ for these and all future small single-ended 5watt guitar amps.  ‘Cassius’ being the name of the most famous Champ of the 20th century.

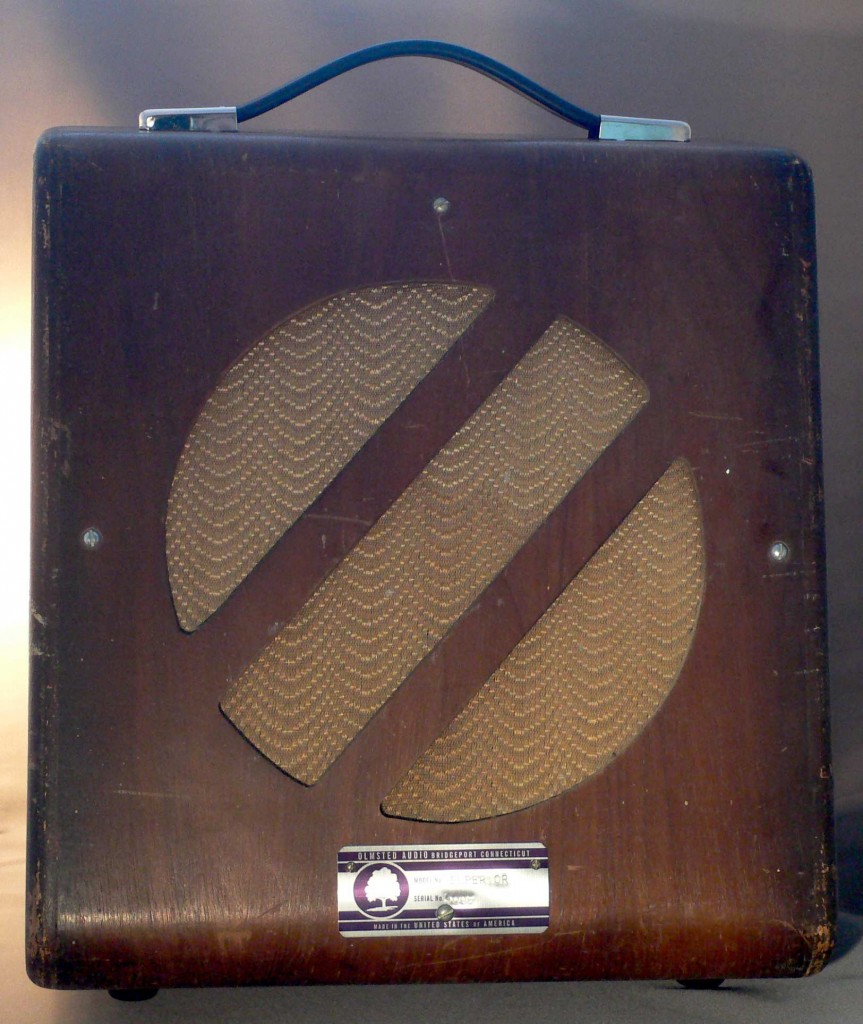
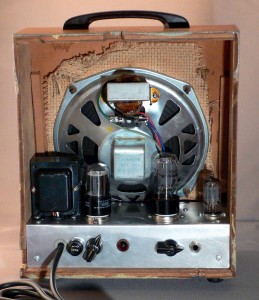
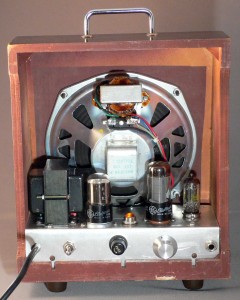
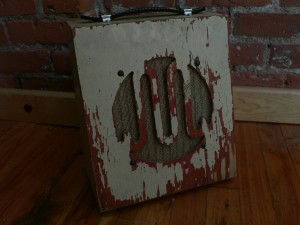
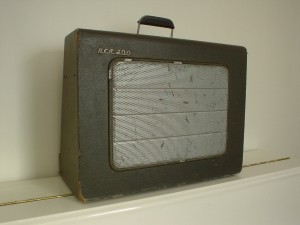
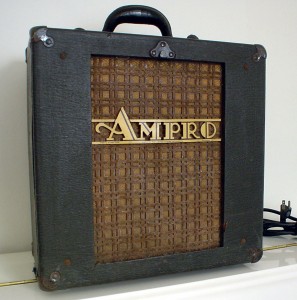
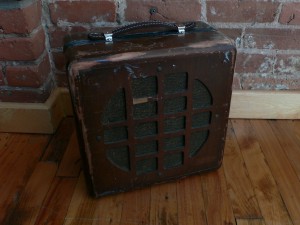
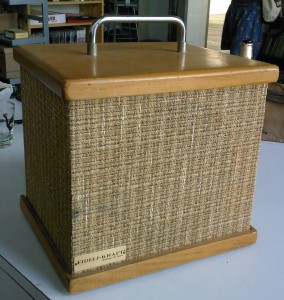
Like the previous Recycled Champs, these are freshly-built  guitar amplifiers, built with largely new components, into antique cabinets.  In this case, factory/school PA speaker boxes.

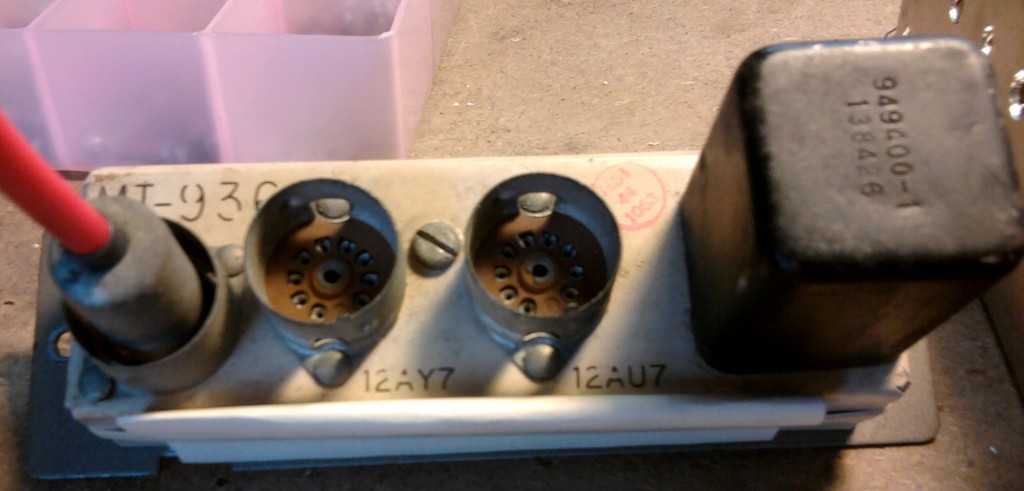
I built these with identical circuits, very true to the circa 1955 5E1 schematic.   They use a 6V6 output tube with a 12AX7 preamp tube.  They have choke transformers and a feedback circuit.  The output transformer is mounted directly on the 8″ Alnico speaker in order to conserve space.  I used a 6X5 rectifier tube rather than a 5Y3 so that i could use a slightly smaller-sized power transformer.  The 6X5 is an excellent tube which was used in a great amount of pro-audio equipment in the 50s.  These amps also will also accept 12AY7 preamp tubes for a different breakup.

These amps are very small and lightweight. They sound fantastic.  Extremely dynamic.  The range of sound that you can generate using the volume knob on the guitar is outstanding.  The small Alnico speaker magnet make these amps less efficient than some other 5 watt amps, which makes these ideal for apartment dwellers (or anyone who lives with other people!).

Up next: this week I will be building a similar ‘recycled’ guitar amp, but scaled up: a 12-watt “Tweed Deluxe-type” amplifier with a 12″ field coil speaker.

Categories
Custom Fabrication History RCA Technical Western Electric

TECH: antique theater equipment

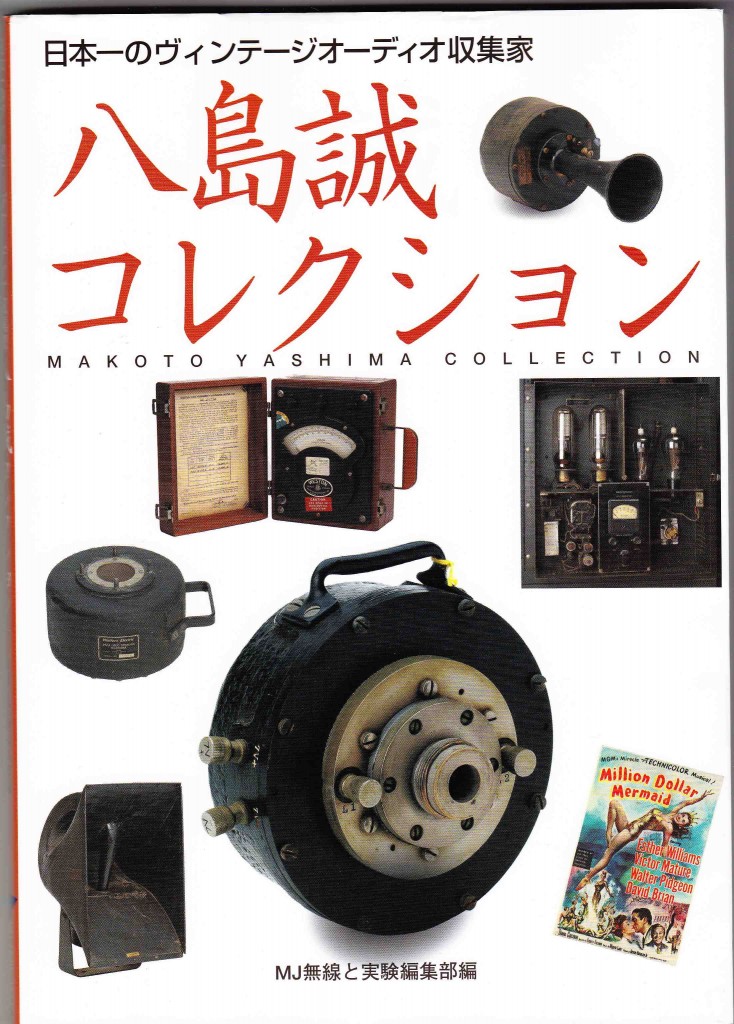
It’s a sign of real accomplishment for an artist to have a monograph of their work published.  I would imagine that a few hundred are published worldwide by recognized publishing companies each year.  But much more rare is the collector’s monograph.  That’s right.  You have amassed a collection of (x) that is so stupendous that “let’s make a book about it!”  And the book costs like $60.

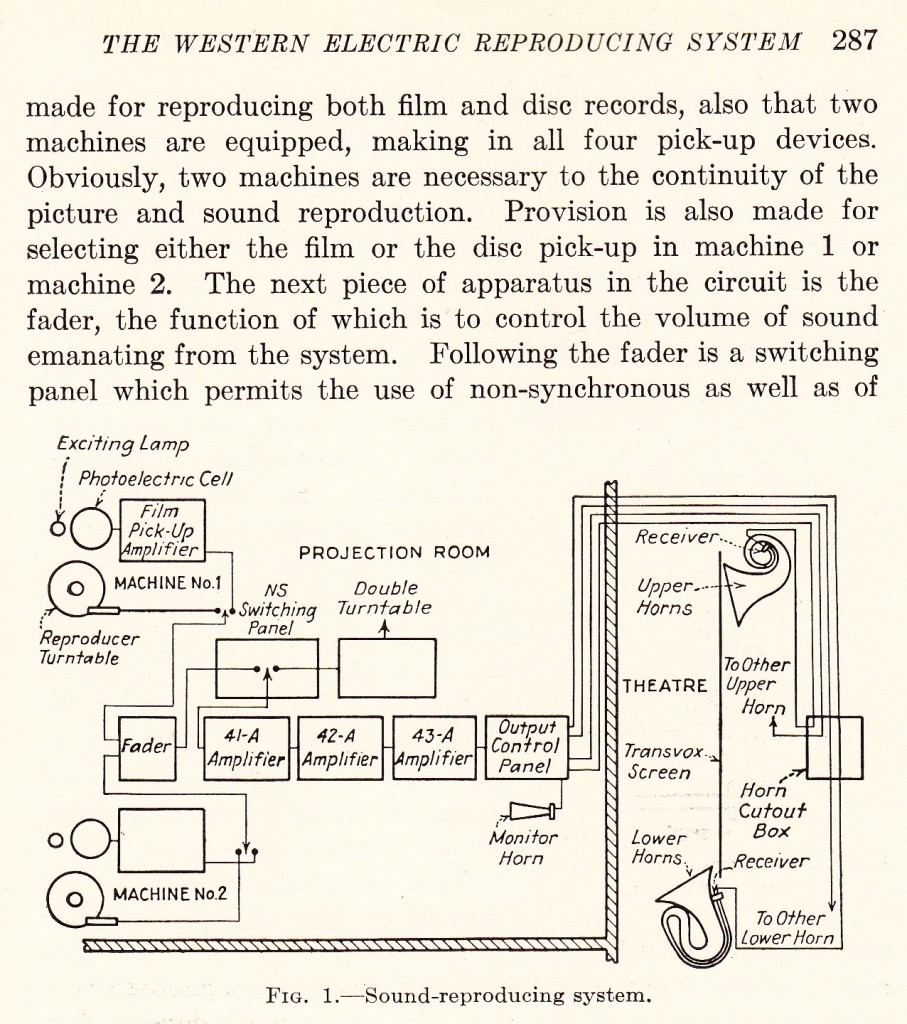
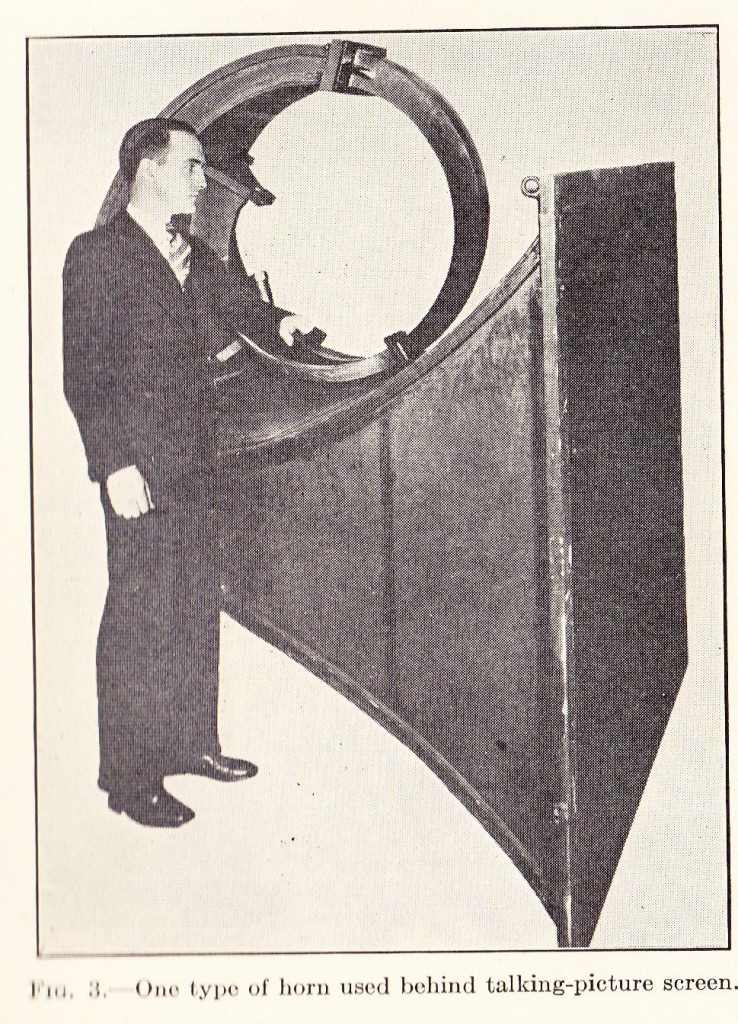
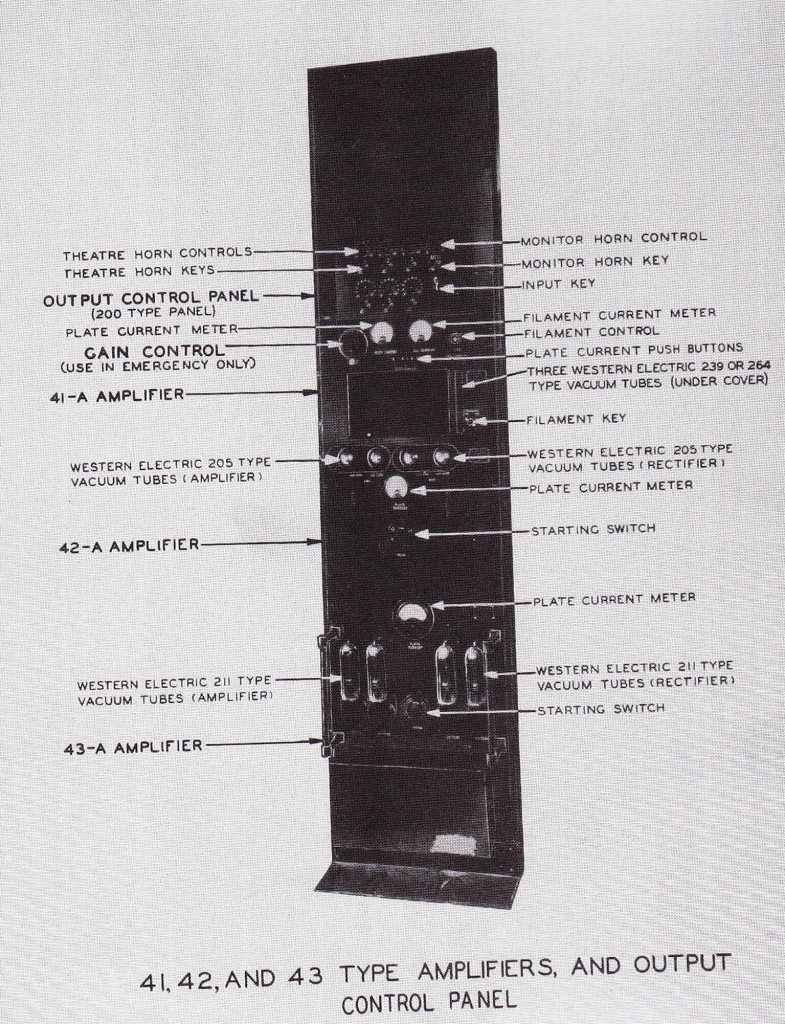
Of all the cults and sub-cults of audio-equipment collecting, few are more rarefied and costly than collecting antique movie-theatre equipment; especially equipment made by the Western Electric Company (hf. WE).  I won’t go into WE; the company had such a complicated history filled with intense government regulation, so tightly intertwined were they with the communication industries in American life; check out wikipedia for the details.  Suffice to say that, along with RCA, WE was a main manufacturer of the equipment used to playback sound in movie theatres at the dawn of the sound-film era (late 1920s).   Since the equipment was designed for such purpose, quality and reliability was very high.    Also massive.

(from “Recording Sound For Motion Pictures,” McGraw-Hill, 1931)

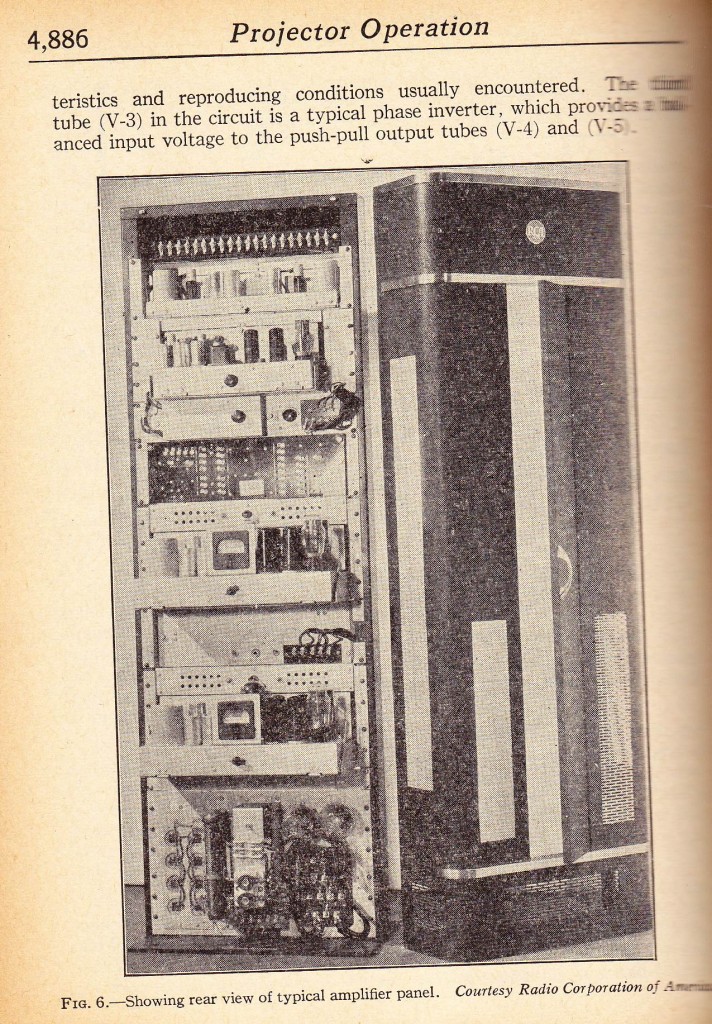
Here’s RCA’s theater system from that era:

(from ‘Audels New Electric Library,’ Audel+ Co, 1931-1958)

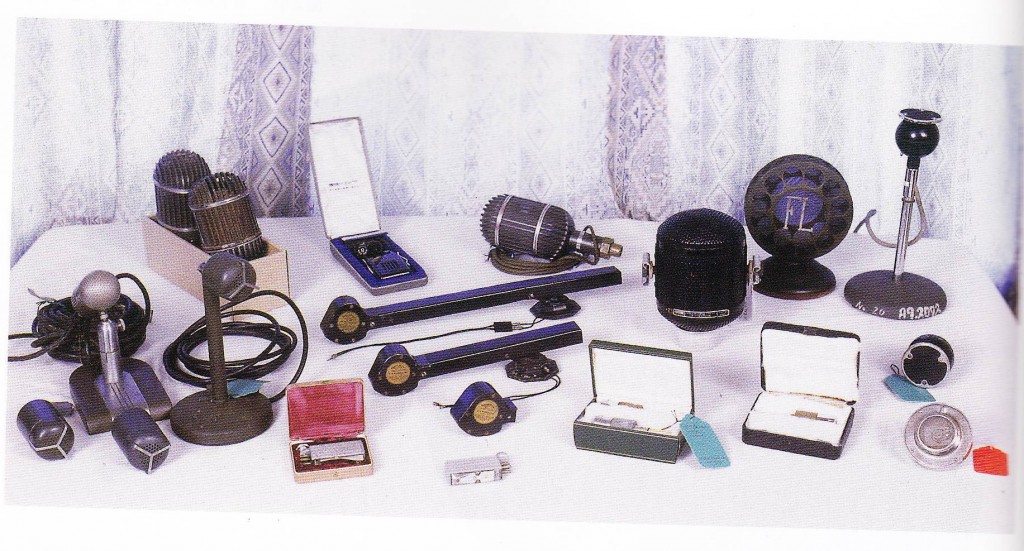
Mr. Yashima had quite a collection of this stuff.

(scanned from “Makoto Yashima Collection,” Seibundo, Japan)

It’s hard for me to say what the value of these WE components is, but i can easily imagine single pieces trading in the 5 figures.

Getting back down to earth, WE stopped making theatre-sound equipment in the late 1940s due to anti-trust regulations (complicated, right?), but RCA kept on building it.

This brings us into the realm of more accessible (even downright cheap!) devices.  Even though this later hardware may be inexpensive nowadays, we are still dealing with equipment that is designed for ultimate reliability, and really very good fidelity.  After all, tens of thousands of people sat in these theaters every year, paying a good fee in order to watch and listen to the latest films…  this is a case where quality really matters.

I  picked up this circa 1960 RCA 9362 booster amp for…  maybe… $70?  on eBay a while back.  I had no idea what it was, but it looked like it might be useful in the studio.  And here is where it gets technical….

Categories
Custom Fabrication Guitar Equipment History Icons Technical

Recycled Champs

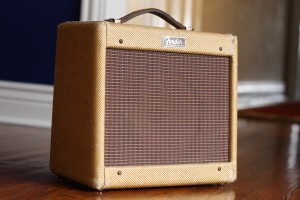
one of the most famous electric instrument amplifiers of all time is the tweed-covered Champ amplifier made by Fender in the 1950’s thru early 1960s.  Here’s a image of one from 1959 that i pulled off the web:

Fender made true vacuum-tube champs until the late 1970s, but the tweed-covered Champ (and it’s close cousin the tweed-covered Princeton) differ from their later namesakes in a lot of ways.  In the case of the final Tweed Champs, the lack of bass and treble controls  means that there is roughly 20db more gain available vs the later Black Tolex-covered Champ.  This does not necessarily make for a louder amp.  This does, however, make for an amp that can get super distorted and generally Sound Like Awesome.

Tweed Champs cost a fortune to buy.  Eric Clapton apparently used one for the Derek And The Dominos record.  This fact became widely known, and they have been very expensive ever since.  Fender now even makes a ‘re-issue’ (never a good idea) that sells for close to $1000.

champSchem

The schematic is posted above for anyone interested in checking it out. They are very very simple.   Anyhow, since these things do sound so great and they are so simple to build, it’s a lot of fun to build them into Any Old Thing that catches your eye.  Here’s a quick survey of some Champs and Princetons that i’ve built into found enclosures.  You’ll see recycled Intercom units, school PA system speakers, and 16mm film projector speakers.  The circuits in these are all new, built with new or lightly used parts; but the cabinets (that part you actually SEE and touch) are straight up ancient.  I generally take plenty of liberties with the circuit, changing parts, adding features (reverb, add’l gain control, EQ, etc), even building them using different (but similar) tubes, and i’ve yet to be disappointed.

Categories
Custom Fabrication History Icons Technical

Hey it’s one of those old horn speakers

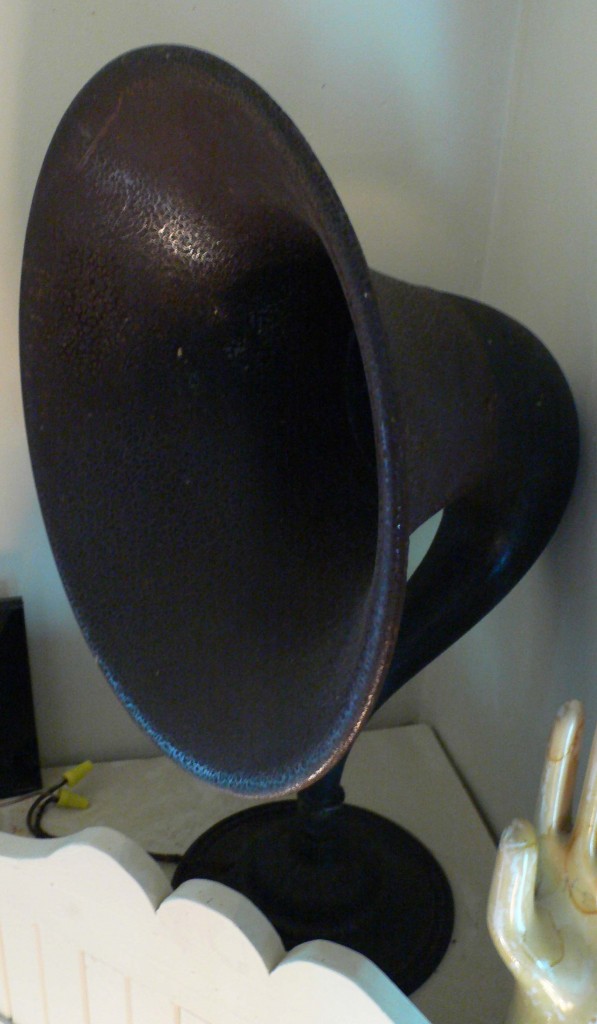
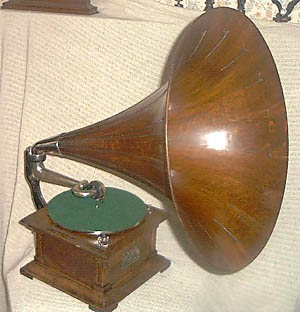
Along the lines of the ‘Carbon Mic’ (see earlier post) are these early horn speakers.   They are visual icons that have become separated from their actual sonic function due to the fact that they do not interface with any other audio equipment that any normal living person would own.  But don’t those things look great?  yes they do.  They look very similar to the acoustic horns that are mechanically coupled to the needles of ancient record players, but in fact these are electrical.

here’s an example of a very old record player which has a horn mechanically coupled to the needle:

On the other hand, the early electro-mechanical horns were made for use with early Tube radios. They have drivers with permanent magnets attached to the base of the horn.  Driver:

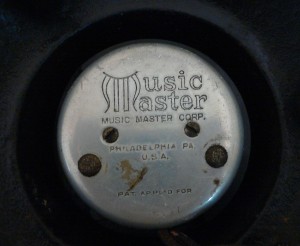
These type of speakers date from the 1920s, and they are the earliest common electro-mechanical transducers.  I picked up this example, made by Music Master of Philadelphia, at a yard sale.

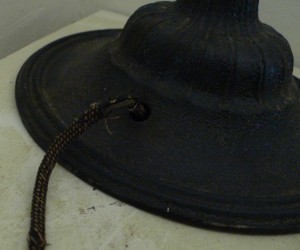
Here’s the base of the unit, which contains the driver.

i plugged the very frayed cloth-covered wire into an old receiver and…  sound!  it worked.  the volume level was very very low, tho, even with the 50 watt receiver turned up all the way.

Turns out that these early speakers require a slightly different sort of amplifier than we use nowadays.  Not surprising.  So i built something to do the trick.  I describe the process below for those who want all the bloody details.  Once i had this thing running properly, tho…  the big question… how does it sound?  well, when listening to music recorded in the 1920s (like my Blind Willie Johnson), it sounds fine.

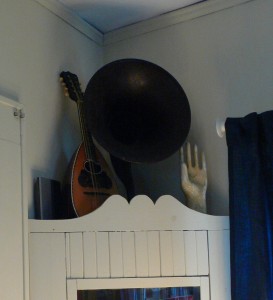
Later music sounds pretty bad.  and not even in an interesting way.  just bad.  But old classical and gospel are cool.   Hearing those old recordings played back on the same sort of system that folks would have used 90 years ago…  wow.  it’s fun.  I have the horn (and it’s attendant special amplifier) hooked up to an Apple Airport Express which hides in the base of a corner cabinet in our house.

Other rooms in the house have their own full-range systems with their own Airports, so it’s really easy to switch up the playback systems depending on mood etc.  Love iTunes on the laptop.

Here’s the tech-y stuff for those of you who care.  So why did the speaker not play back at a decent level when used with my old SONY receiver? A quick bit of online research revealed that these old horn speakers have an effective impedance of 1000-2000 ohms.  WAY off from the 8 ohm speaker output of a contemporary receiver.   Anyhow, to confirm this, i inserted my handy University Sound universal impedance matching transformer (wired to couple 8 ohms to 600 ohms) and what do you know.  the speaker worked fine.   Decent volume level with the volume knob set at 10’o-clock.
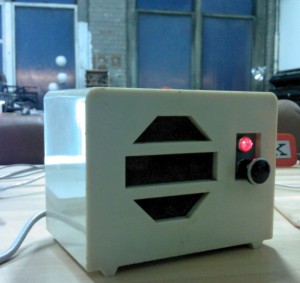
Anyway, rather than run this thing all the time with a giant shitty receiver, i decided to simply build a tiny 5watt tube amplifier with the highest impedance that i could easily generate – 600 ohms.   I had some Edcor 5K/600 single-ended transformers lying around from a mic preamp project that i aborted because…  well…  the Edcors don’t have enough low end response to make a good mic preamp.  In this decidedly lo-fi application, though, they work just fine.  I used a 6J7 (for the old-timey look) into a 6V6 tube with a 5V rectifier.  I initially built the unit with a 6L6, but the edcor was getting REALLY hot (i guess they mean it about the 5watt rating) so i switched the tube to a 6V6 (and changed the cathode resistor appropriately).  It runs cool now.

Anyhow, this little amp also has the added feature of two RCA input jacks that passively mix to the input grid of the 6J7.  which is a necessary feature since i use this to listen to (stereo) music from iTunes via the Airport Express.  Also: super-nerdy but maybe worth mentioning – dig the old ‘screw-lug’ speaker connection.  i have been using these a lot lately and i think they add a little charm, even tho they do generally require some dremel-ing to the chassis in order to mount. (i hate the dremel and will do almost anything to avoid it.  Greenlee punches 4eva)

If you find one of these speakers for a good price (mine was $25, down from the sellers asking price of $80), and you can confirm that it works, you might want to pick it up.  One caveat: i apparently got lucky with the speaker that i bought.  Apparently, it’s common in these older units for the magnets to actually have lost their charge, and if that’s the case, they will need to be re-magnetized using wire and very high voltages.  Dangerous and irritating.  There are a few pages on the web that describe this procedure.  It’s pretty incredible to me that this technology is so old that the magnets have lost their charge.  crazy.  will this happen to all of our permenant magnet speakers some day?  will all of those coveted old Alnico drivers be useless at some point?  when?  2050?  Can’t wait for “The Day The Tone Died”  haha i can’t believe i said that….   awful.    Hate ‘Tone’ as a synonym for ‘pleasing sound quality in an electric-guitar sound reinforcement scenario.’

Does anyone out there use one of these speaker systems for music listening?

Anyone have a dedicated ‘antique’ system for listening to certain genres/ periods of recordings?