 I picked up the above-depicted Pioneer SR-101 all-tube Stereo Reverb unit for a few dollars at the final flea of ’12. It worked after some minor repairs and I am happy to report that it’s actually a pretty fine lil box. I made a few modifications and added some hardware to adapt it to studio use. I’ll describe the whole fandango here in case any of y’all are thinking of going down the hardware-analog-reverb path. There are plenty of these things on eBay, often closing in the $50 – $200 range. Even if you have to spend a lil time or money on some repairs, it could still be a lot cheaper than the roughly comparable Orban 111B or the Sound Workshop 242, both of which we also have + love at Gold Coast Recorders.
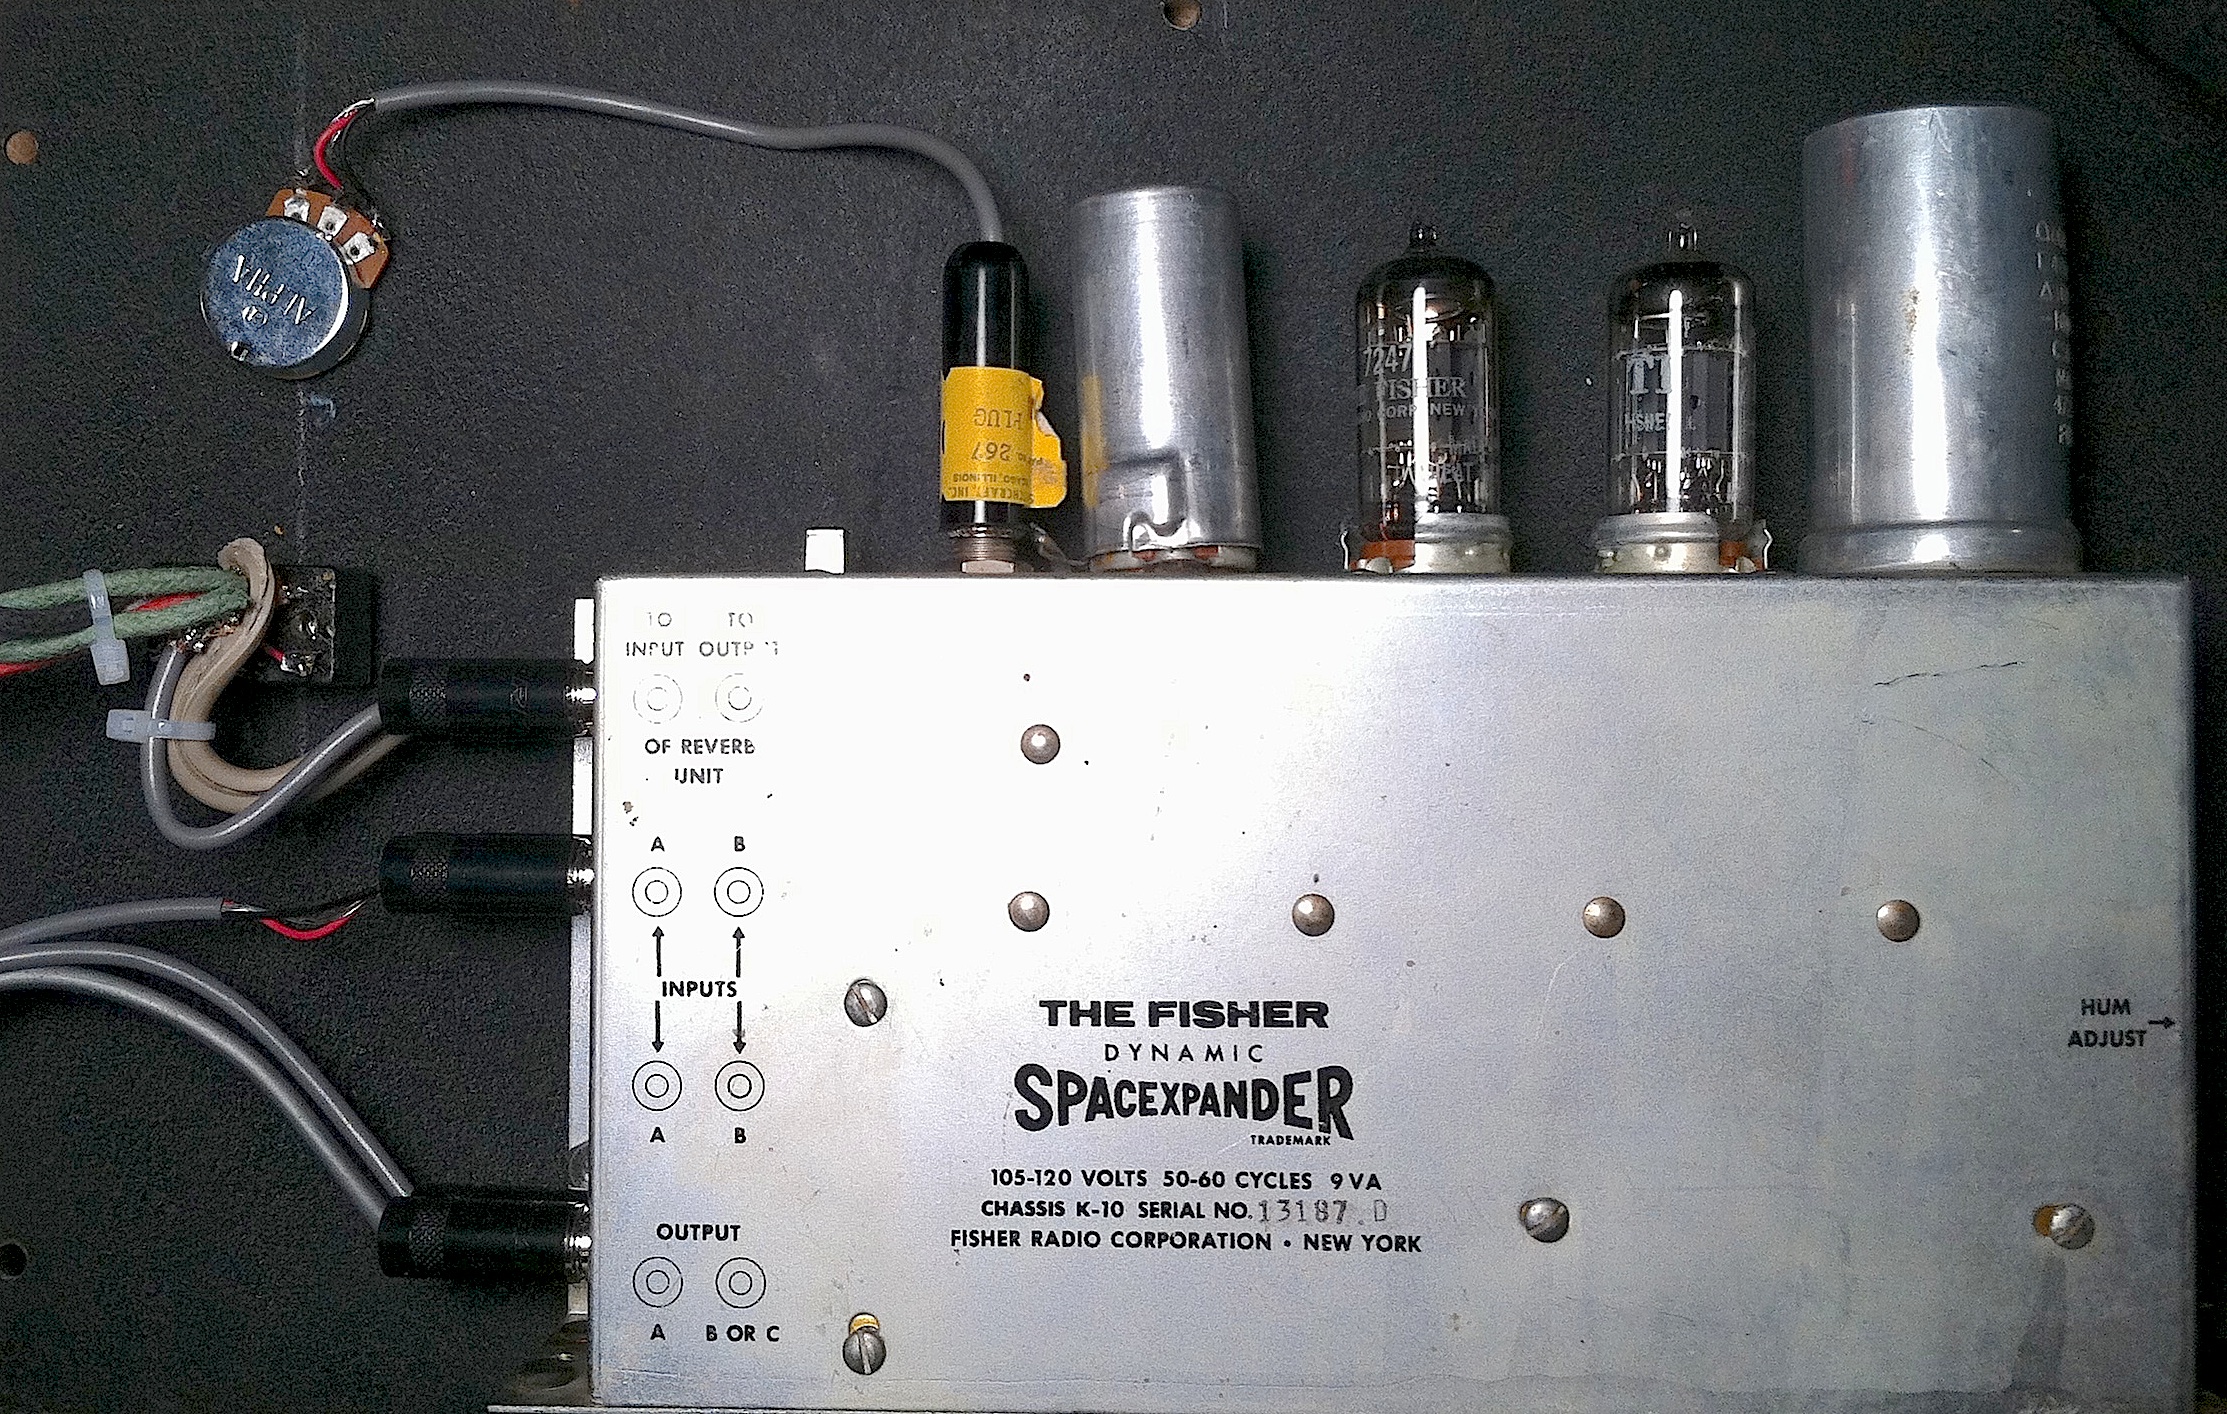
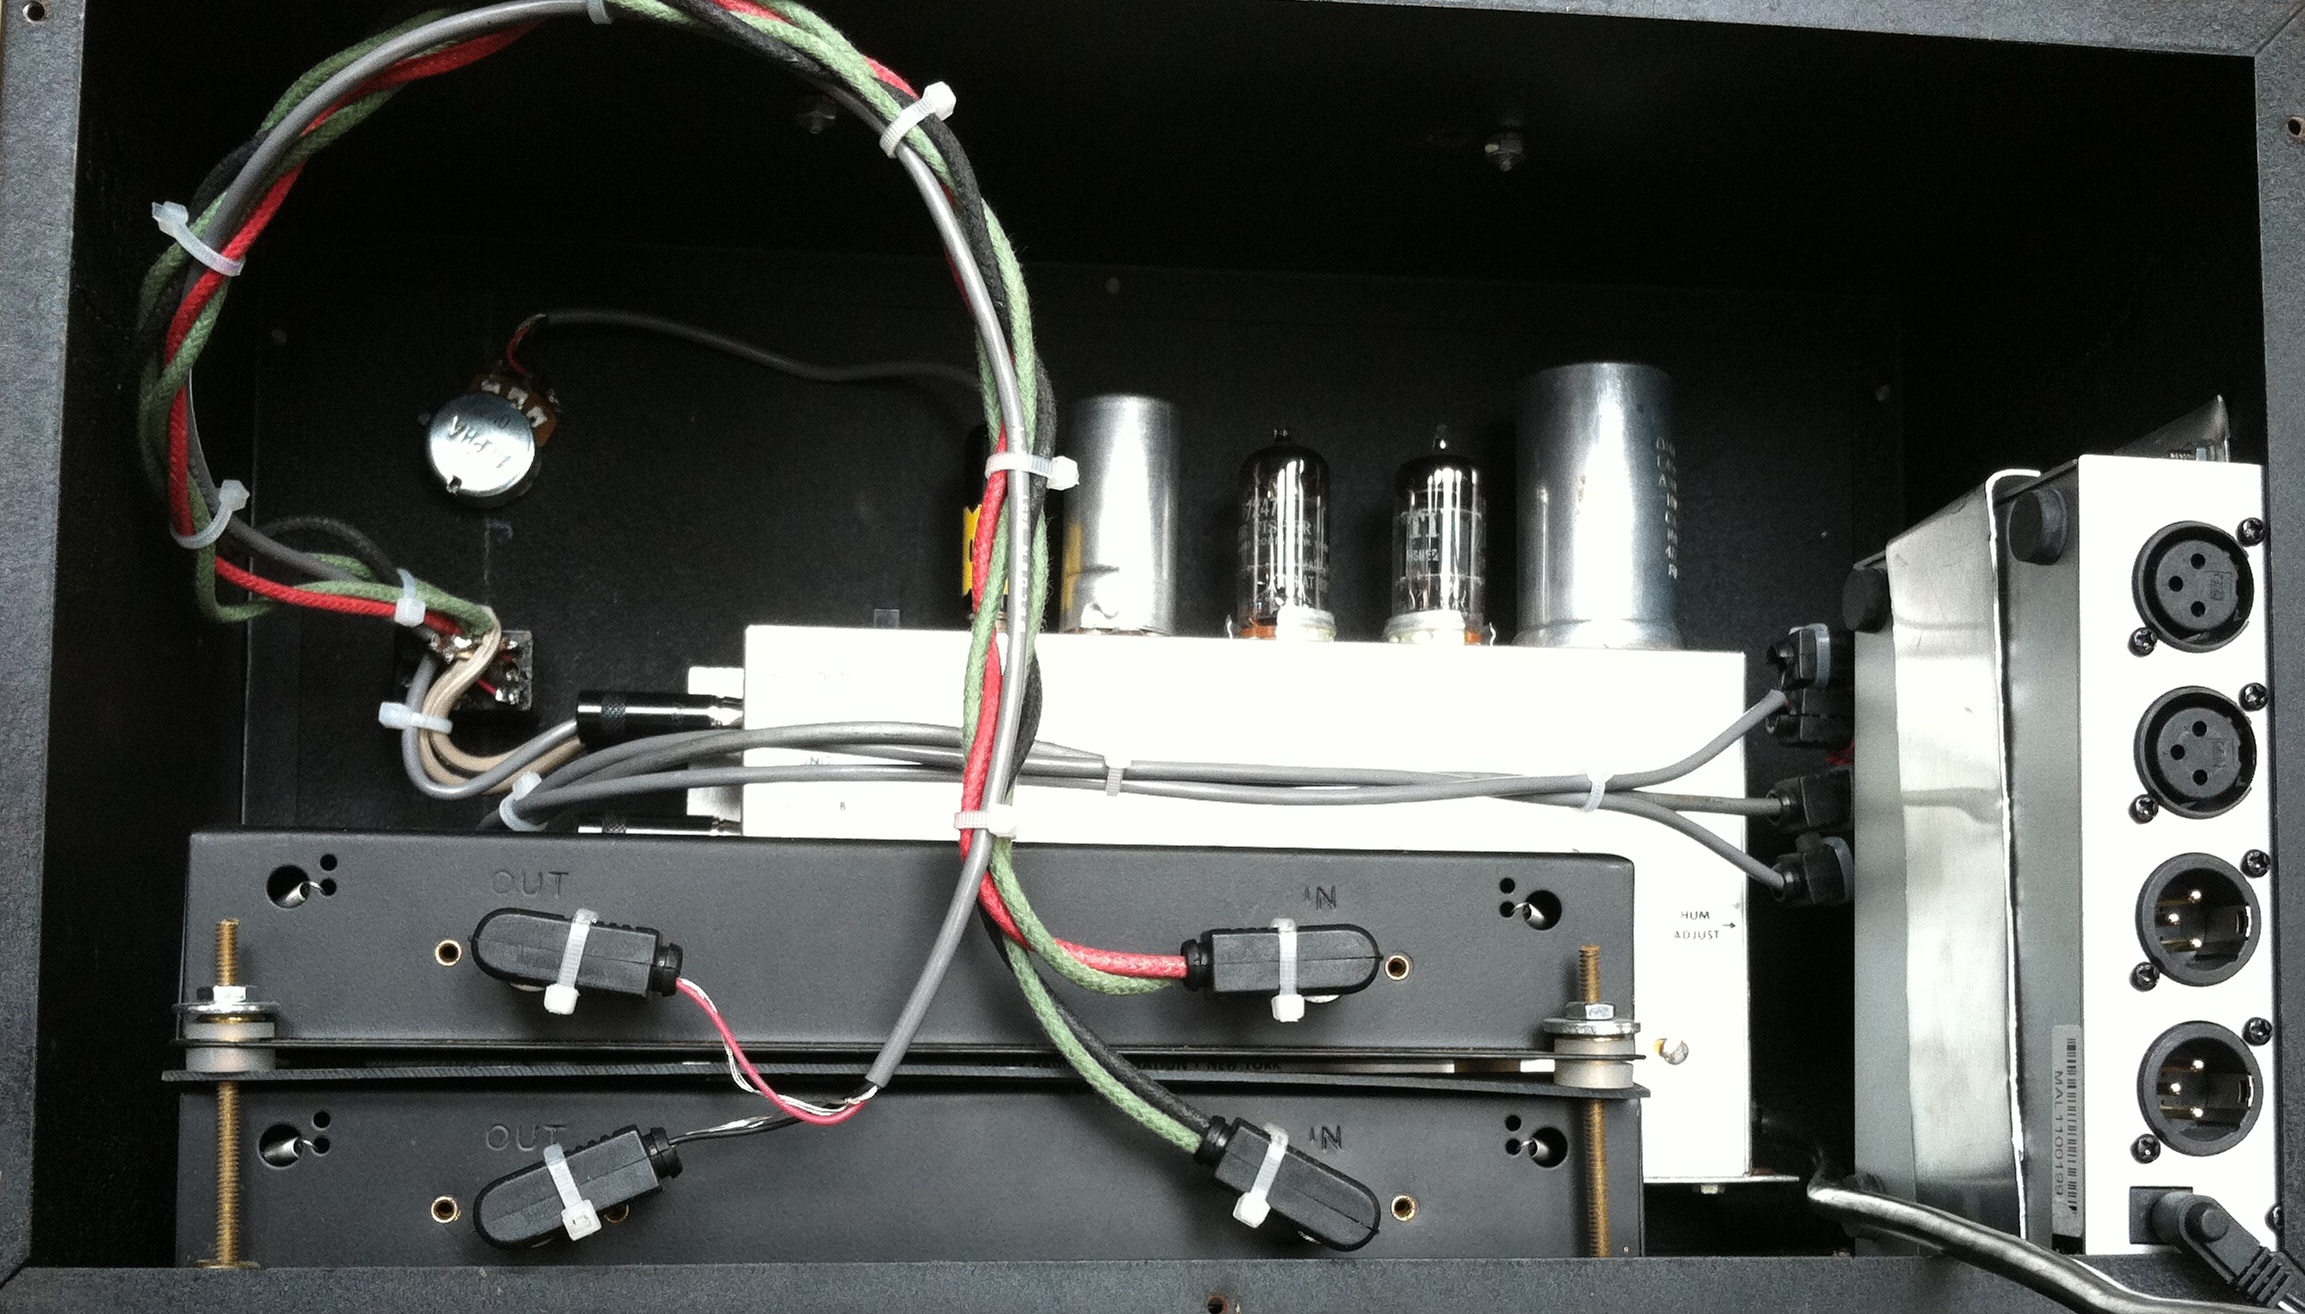
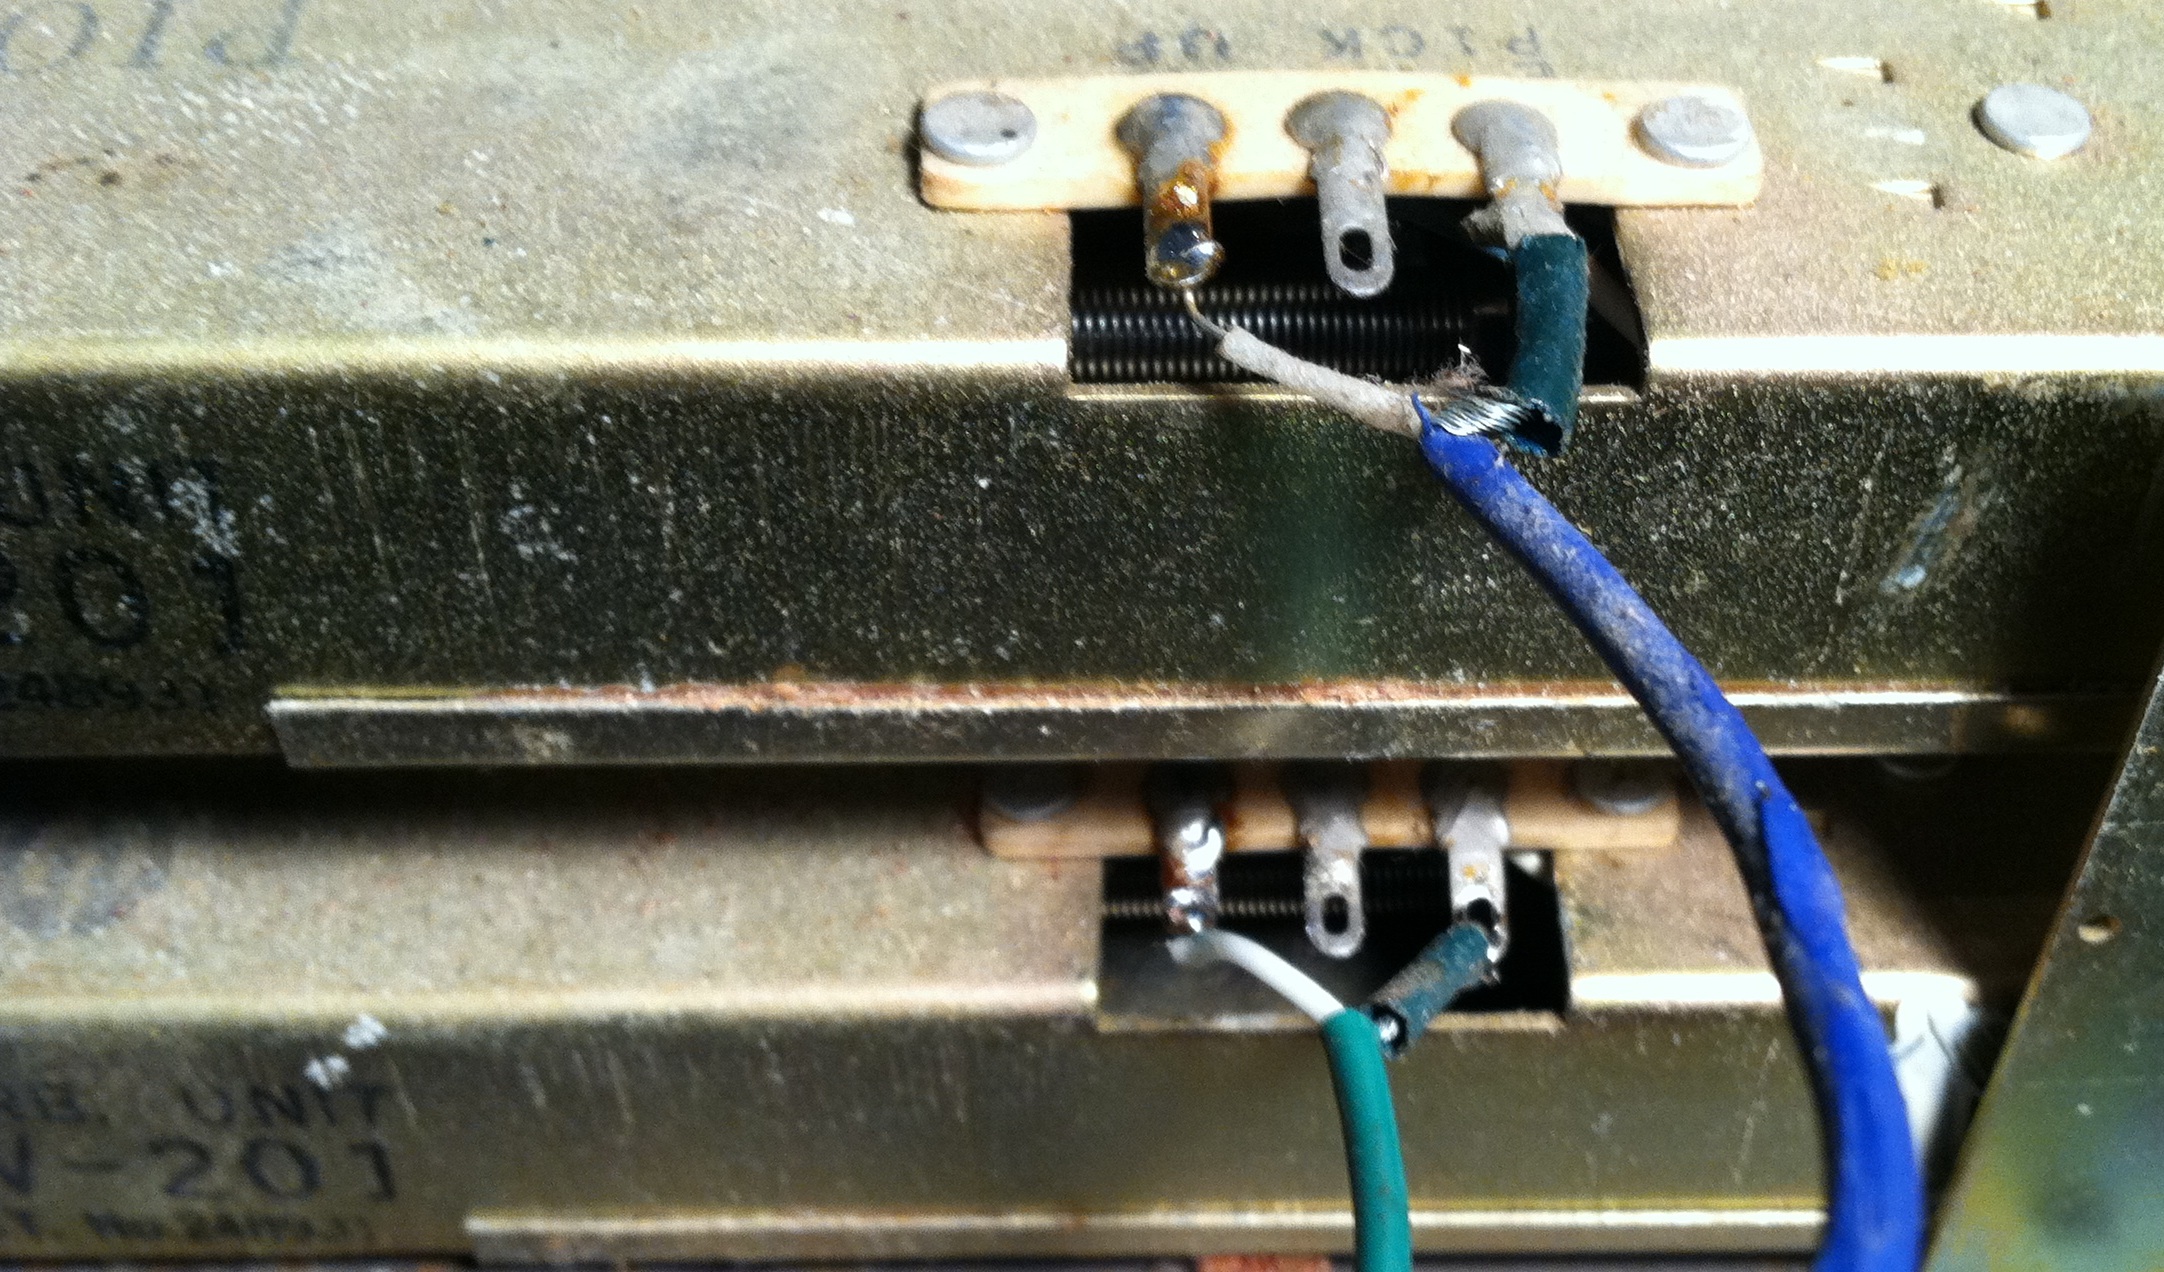 Above: the ‘pickup,’ AKA ‘output’ side of the twin tanks. Unlike the Fisher Space Expander (which I also just picked up… deets on that one soon…), the Pioneer is a true stereo machine. Each input feeds its own physical reverb tank. This is a big, big benefit over the mono-summing of the Fisher. My SR101 unit was passing direct signal, but not reverb, on one side; the culprit was actual just the output lead of the tank (above), which was over-heated during manufacture and had a signal-leak-to-ground on the coaxial cable. A quick snip-n-solder and we’ve got SOUND.
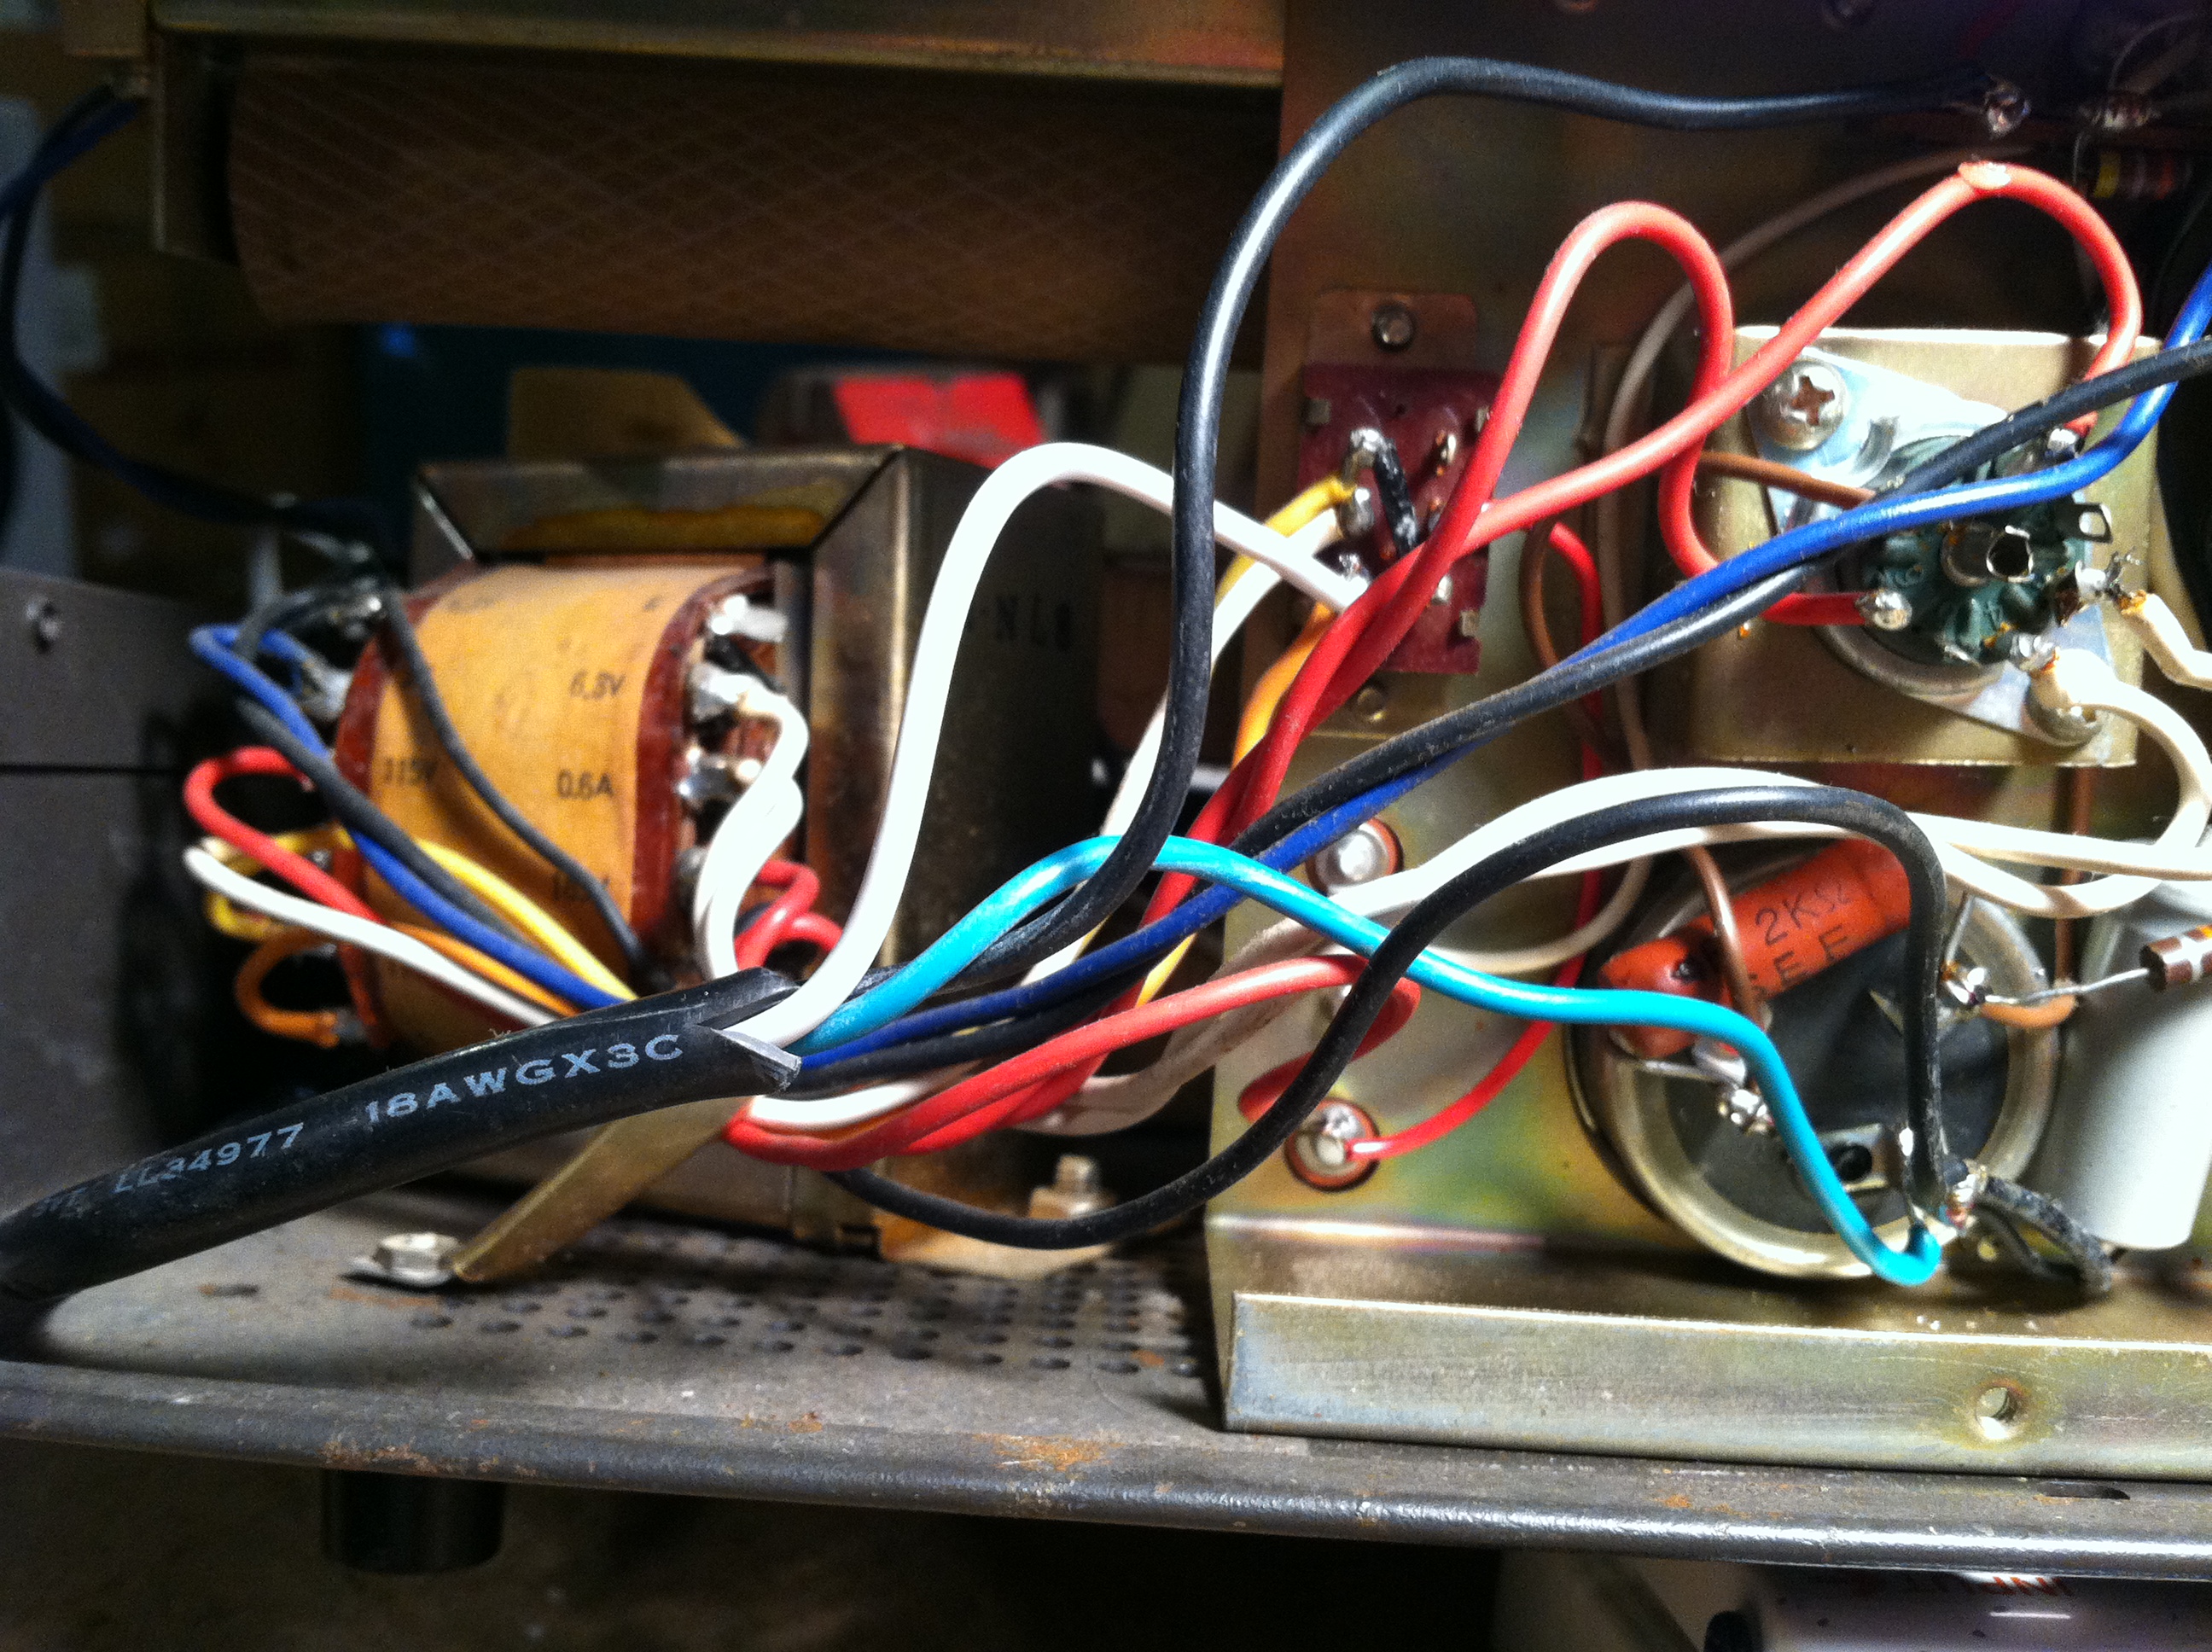 Because this is 60’s piece, the AC mains are not grounded. So I hacked up a nice long IEC cable and added that. Above: I connected the ground (green) wire to the common lug of the multi-cap cap. Seemed to be the most convenient option… The only other repair was of a more mechanical nature. The tanks are suspended from steel risers via small springs, with foam rubber pressed between the tanks+chassis. 45 years of tiiiiiiiiiiiime marching-on had turned much of the foam suspension into sticky goo; I replaced the rotted foam with some generic foam road-case-material.
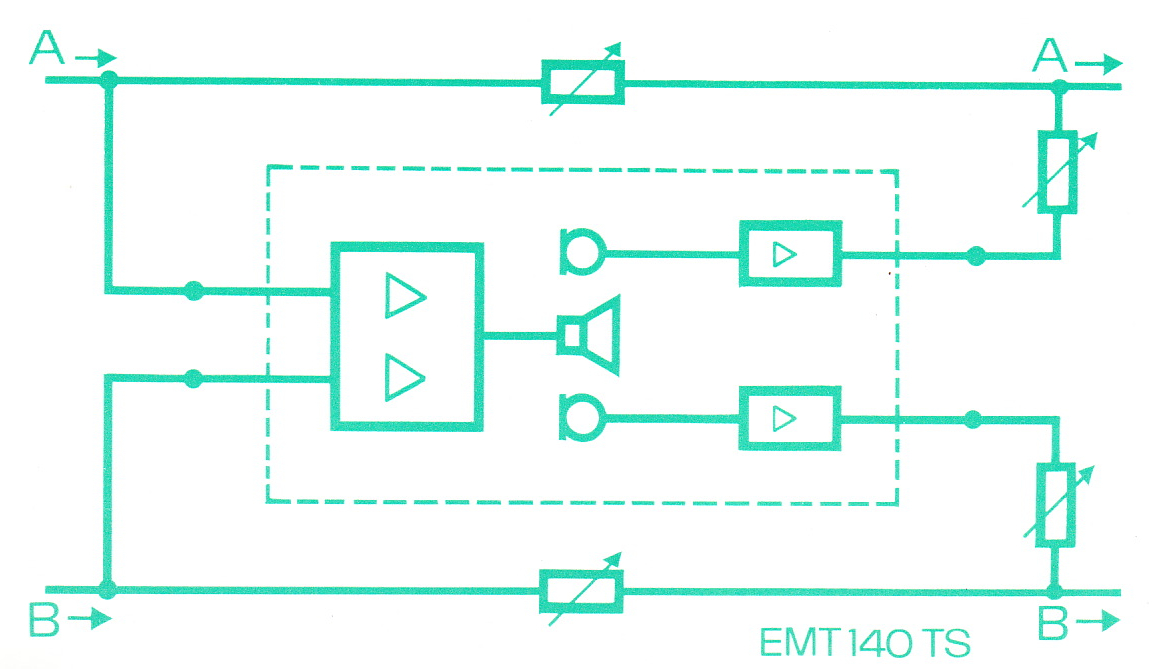
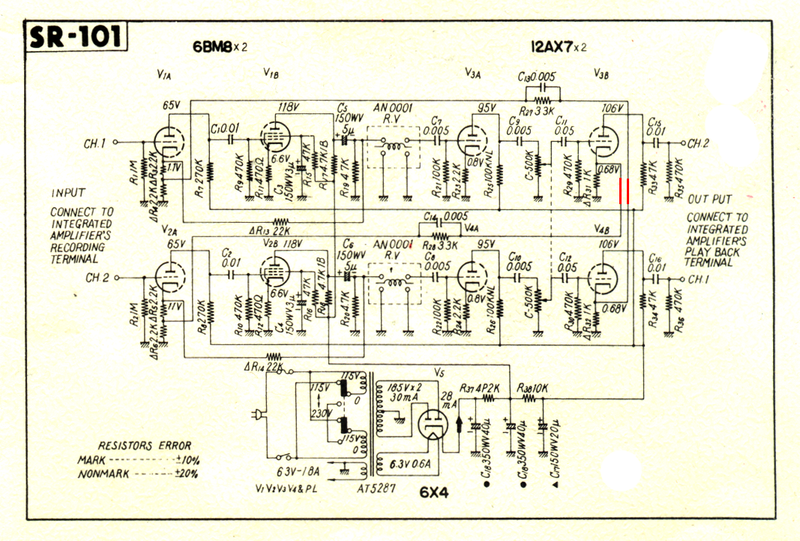 Above: the schematic of the SR-101, courtesy of this handy web forum. Notice the two red wires: the fellow who originally posted this schem was kind enough to highlight them. Here’s why. When I originally got the unit, it was a little tricky to troubleshoot; the left input came out of the left dry output, but the left channel reverb emerged from the right out. WTF? Turns out that this was a gimmick that Pioneer used in order to ‘widen’ the stereo effect. And it does work, but that would just be confusing as hell in the studio. So I re-reversed (versed?) the direct-signal wires and then reversed the leads going to the RCA output jacks.
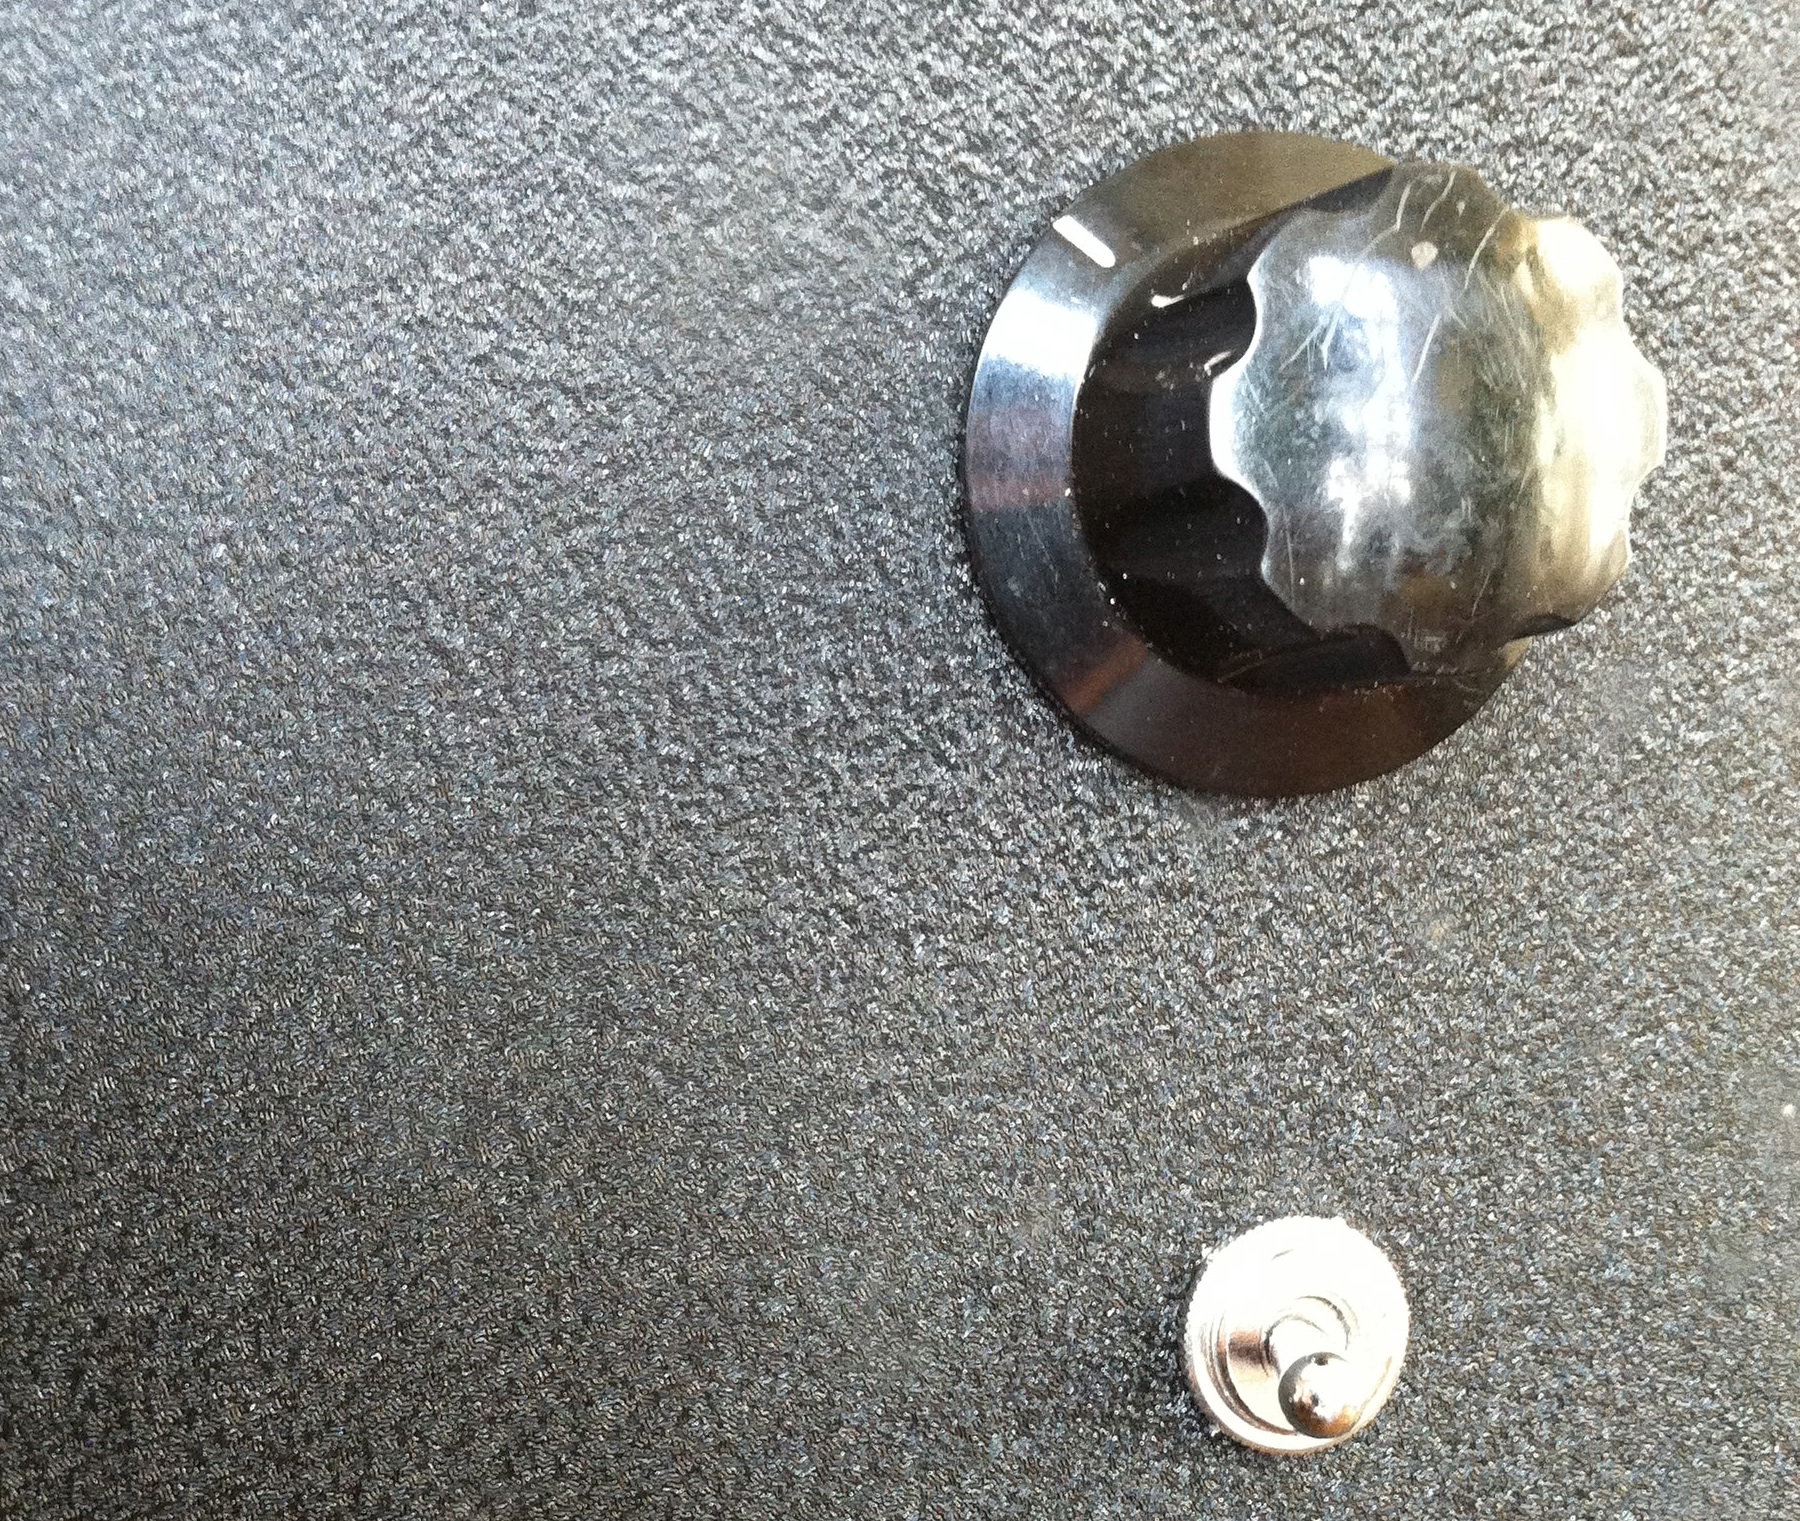
 While I was at it, I drilled a hole in the front panel and added a DPDT on-on switch that cuts the direct signal fully out-of the signal path. So now the left channel input and its associated reverb both emerge from the left output, as one would expect, and vice-versa for the right channel. PLUS, now I can flick the switch up and get reverb-only in the outputs. Easy enough…
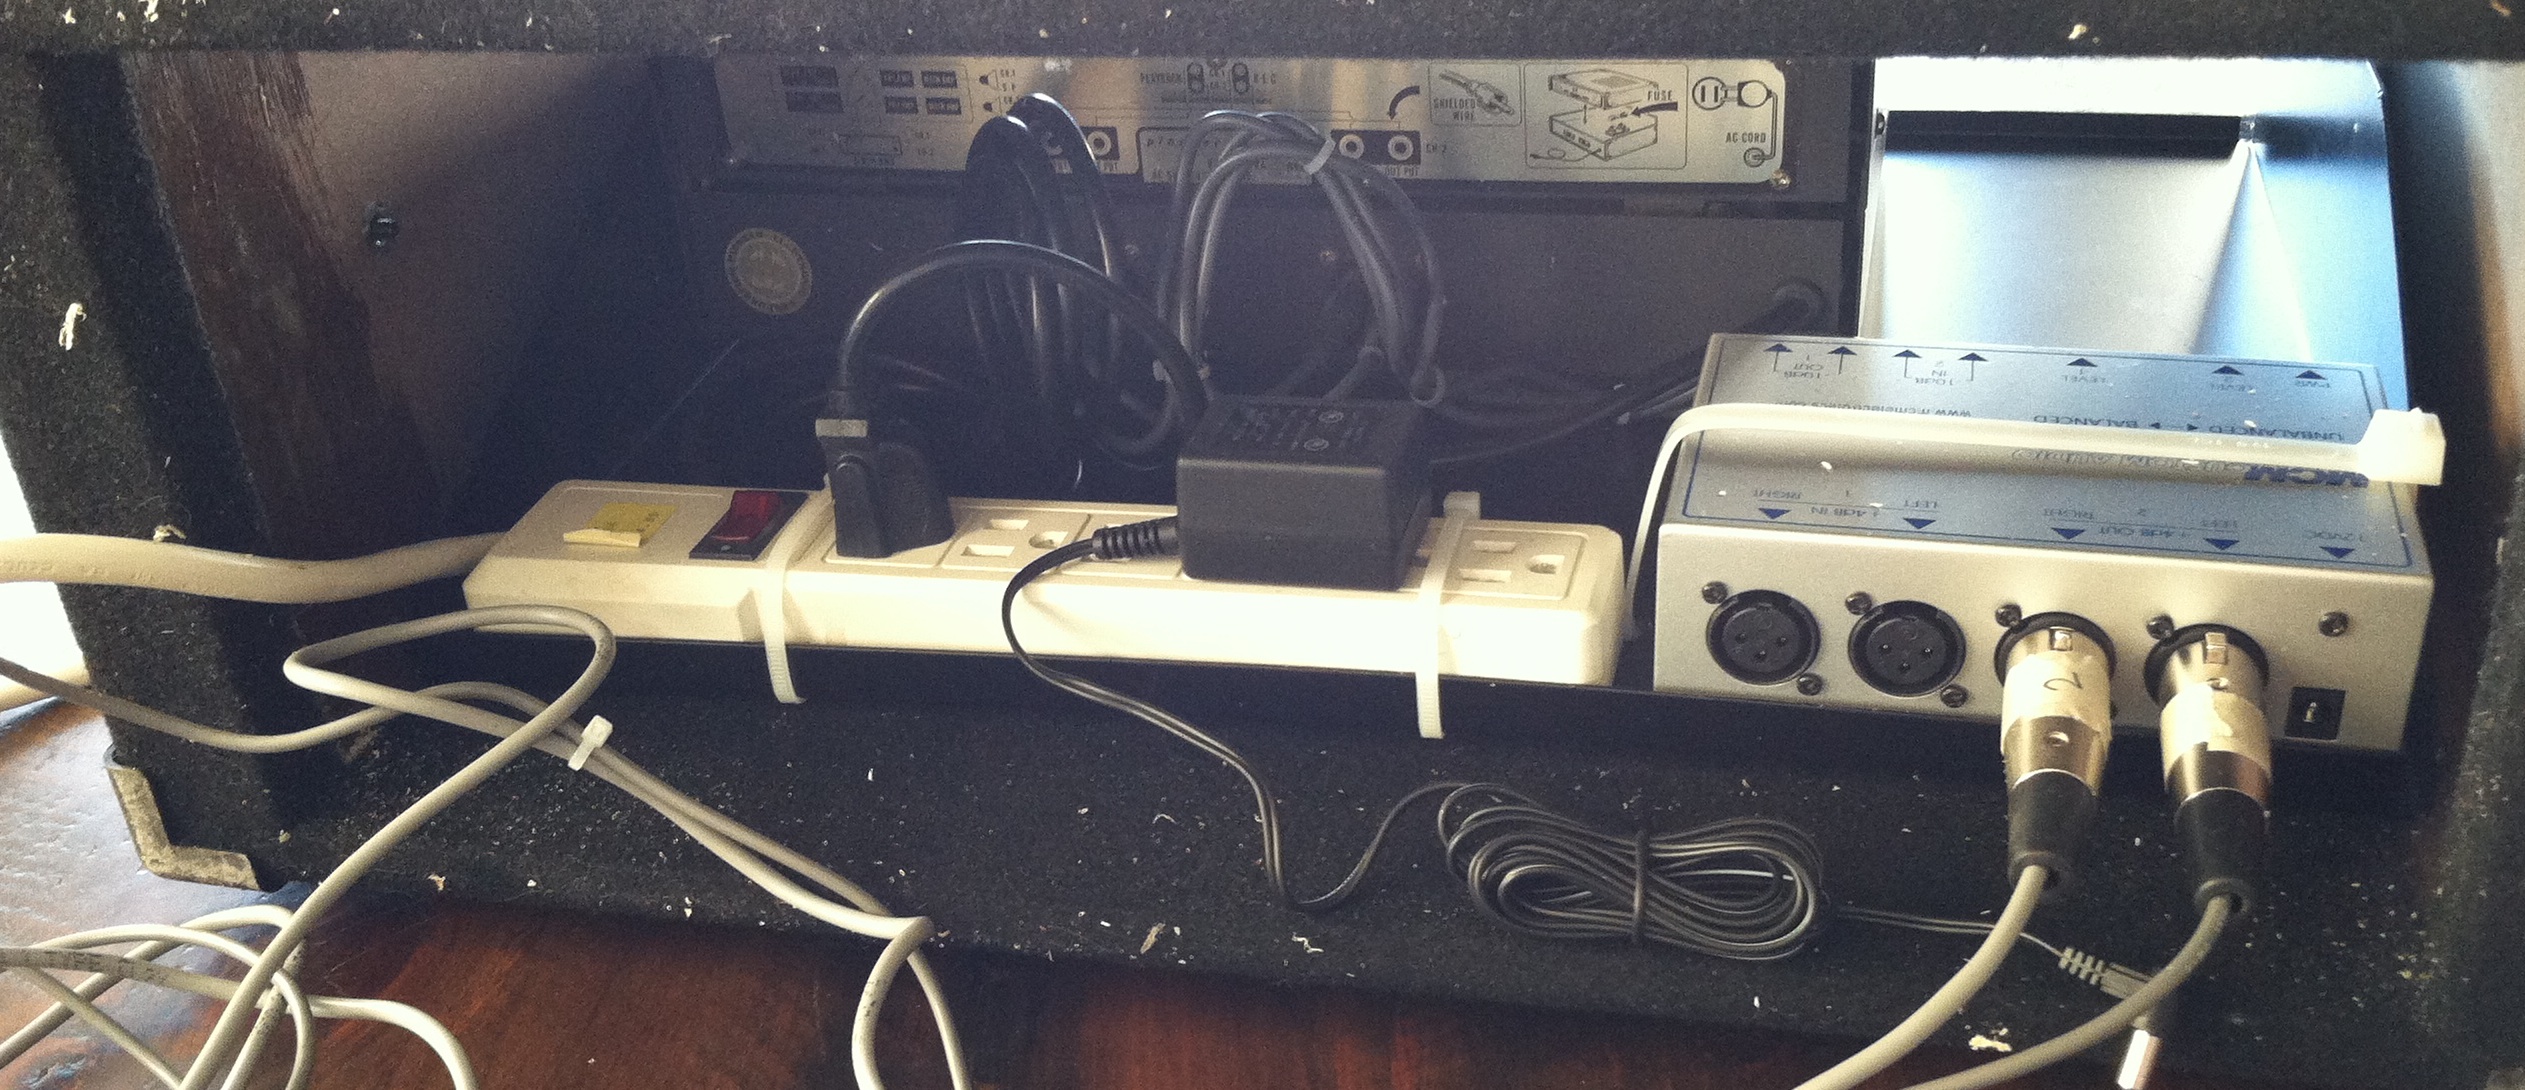 Above: the rear of the rack-case. That lil silver box on the right is a bi-directional stereo balancing amp designed to interface consumer audio gear with studio (or broadcast) audio systems. Basically, it takes a stereo balanced +4 input signal and drops it to -10 unbalanced output, and simultaneously takes a -10 stereo input signal and boosts it to a +4 balanced output. I own many of these sorta things, but the unit above is notable in that it is really, really, really fukkin cheap. These things are generally in the $70 – $200 price range, but my fav purveyor of dirt-cheap electronic crap MCM electronics has em now for $39. There are often sales too; I think I paid $35 for this one and $30 for the last one I bought. Both worked fine BTW. Anyway, I wouldn’t recommend that you mix a record thru the thing, but I can’t imagine it doing any harm to the signal coming from a 45-year-old box of tubes and springs and carbon-comp resistors.
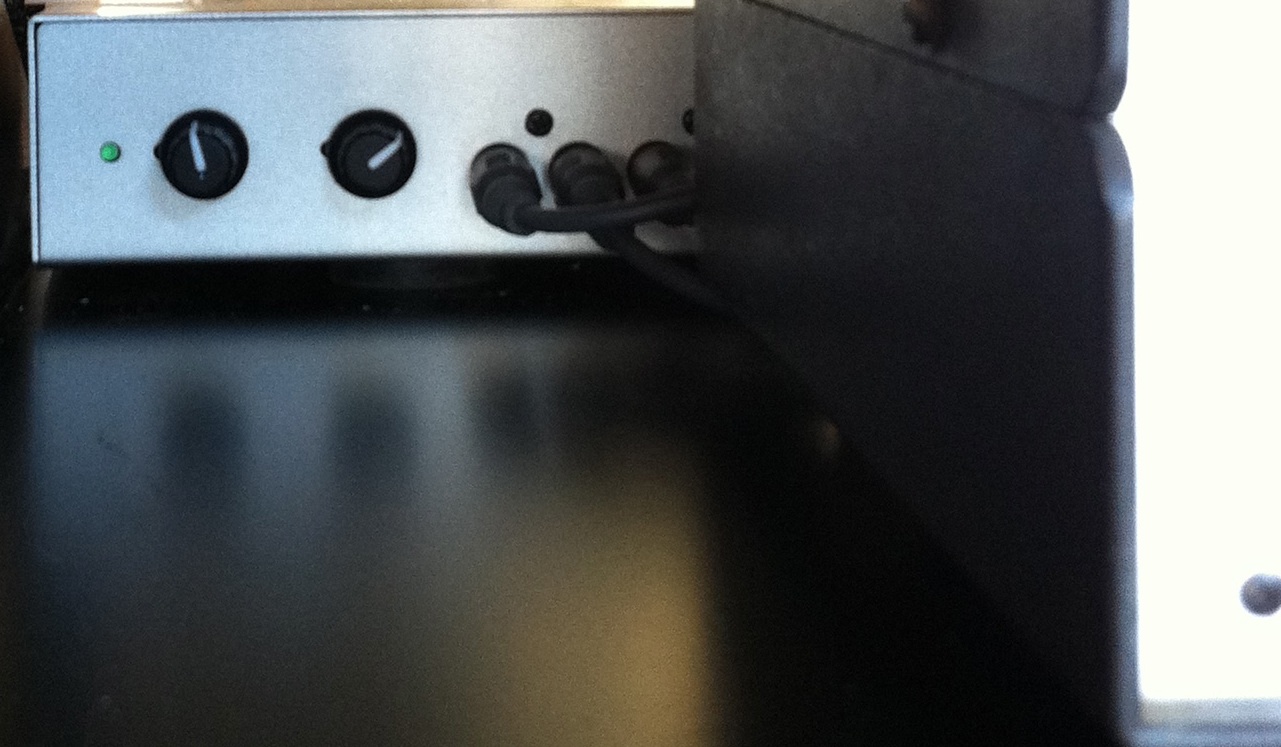 Above: the front of the balancing amp as seen from front of the rack-case. The knobs set the send and return levels to and from the SR-101. This is super-handy in terms of setting the right nominal level to ensure a good signal-to-noise ratio without creaming the tanks too hard (wow that sounds gross). Unlike the reverb tank in a fender guitar amp, for instance, the SR-101 hits the tanks with power amp tubes (around 2 watts, as opposed to maybe 100 milliwatts in a fender). So it is possible to get a pretty good signal level out of them without too much objectionable noise in the tank return circuit, provided that you hit the tank input hard enough. I might be repeating myself now, sorry, it’s late…
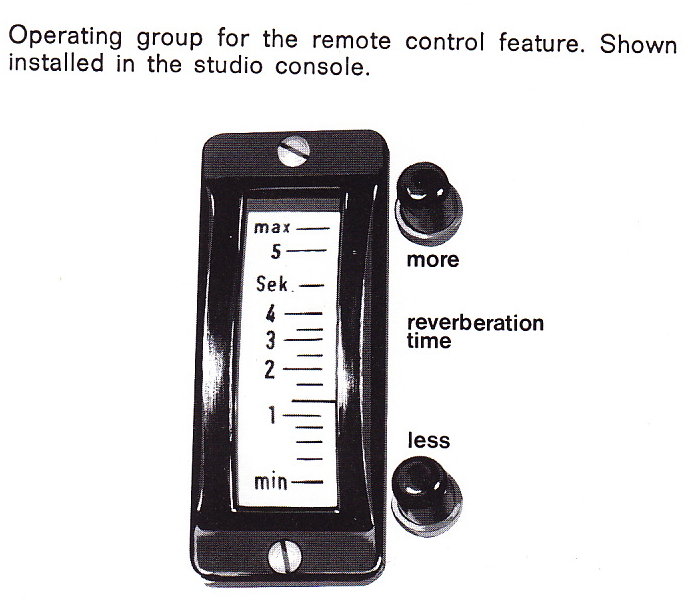
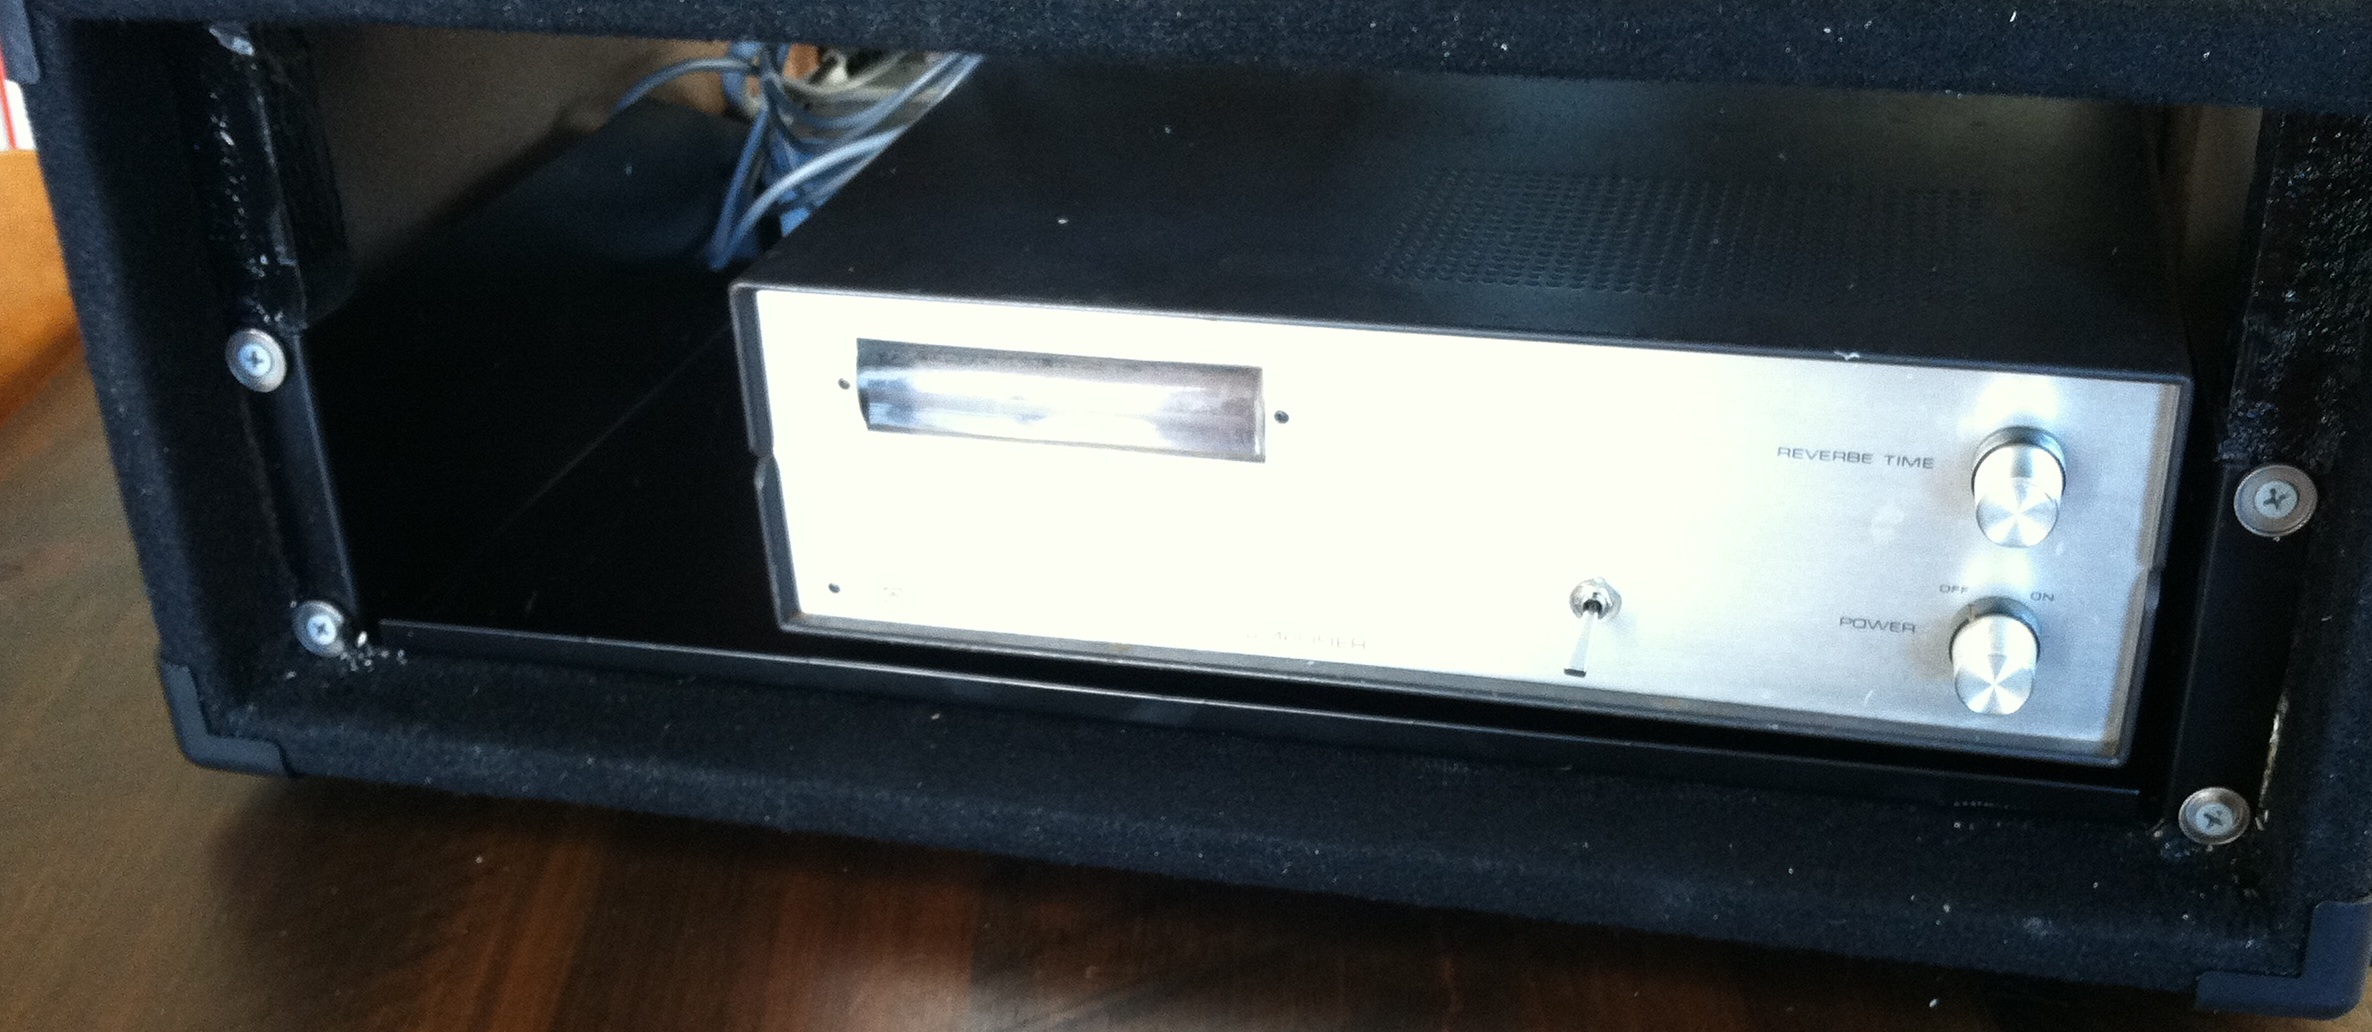
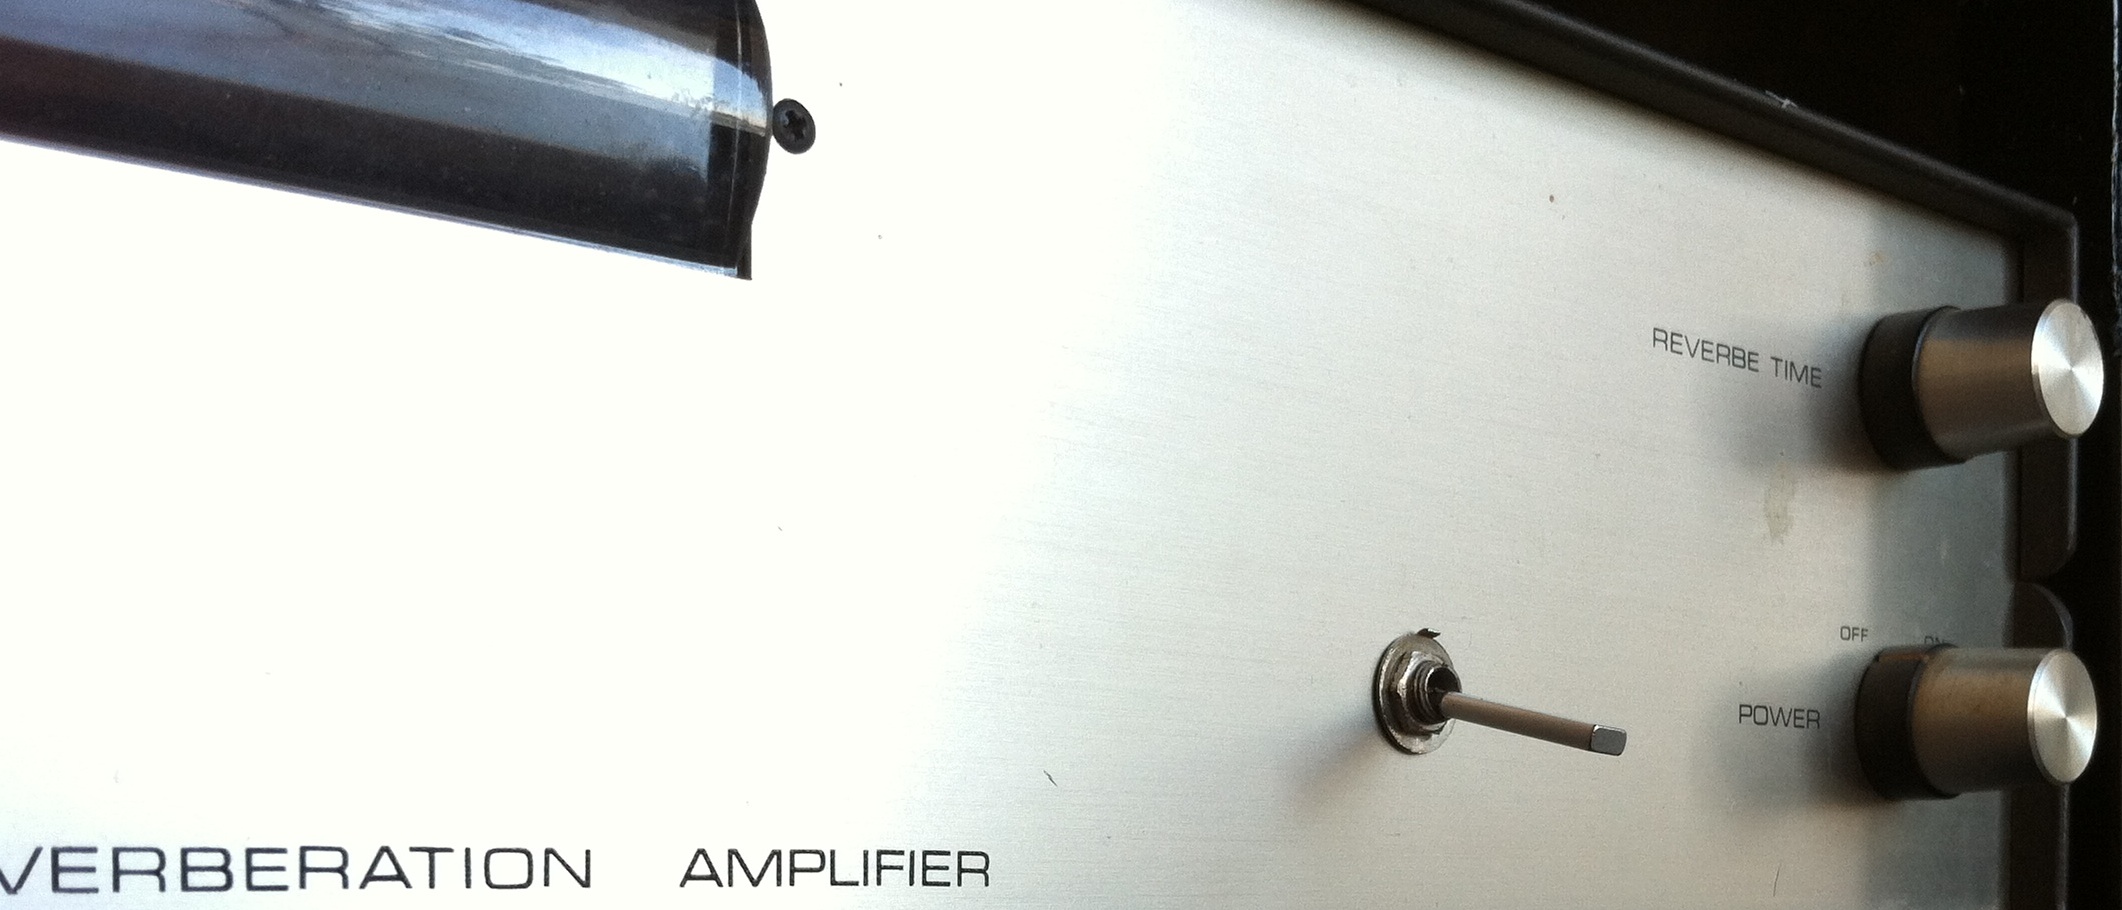
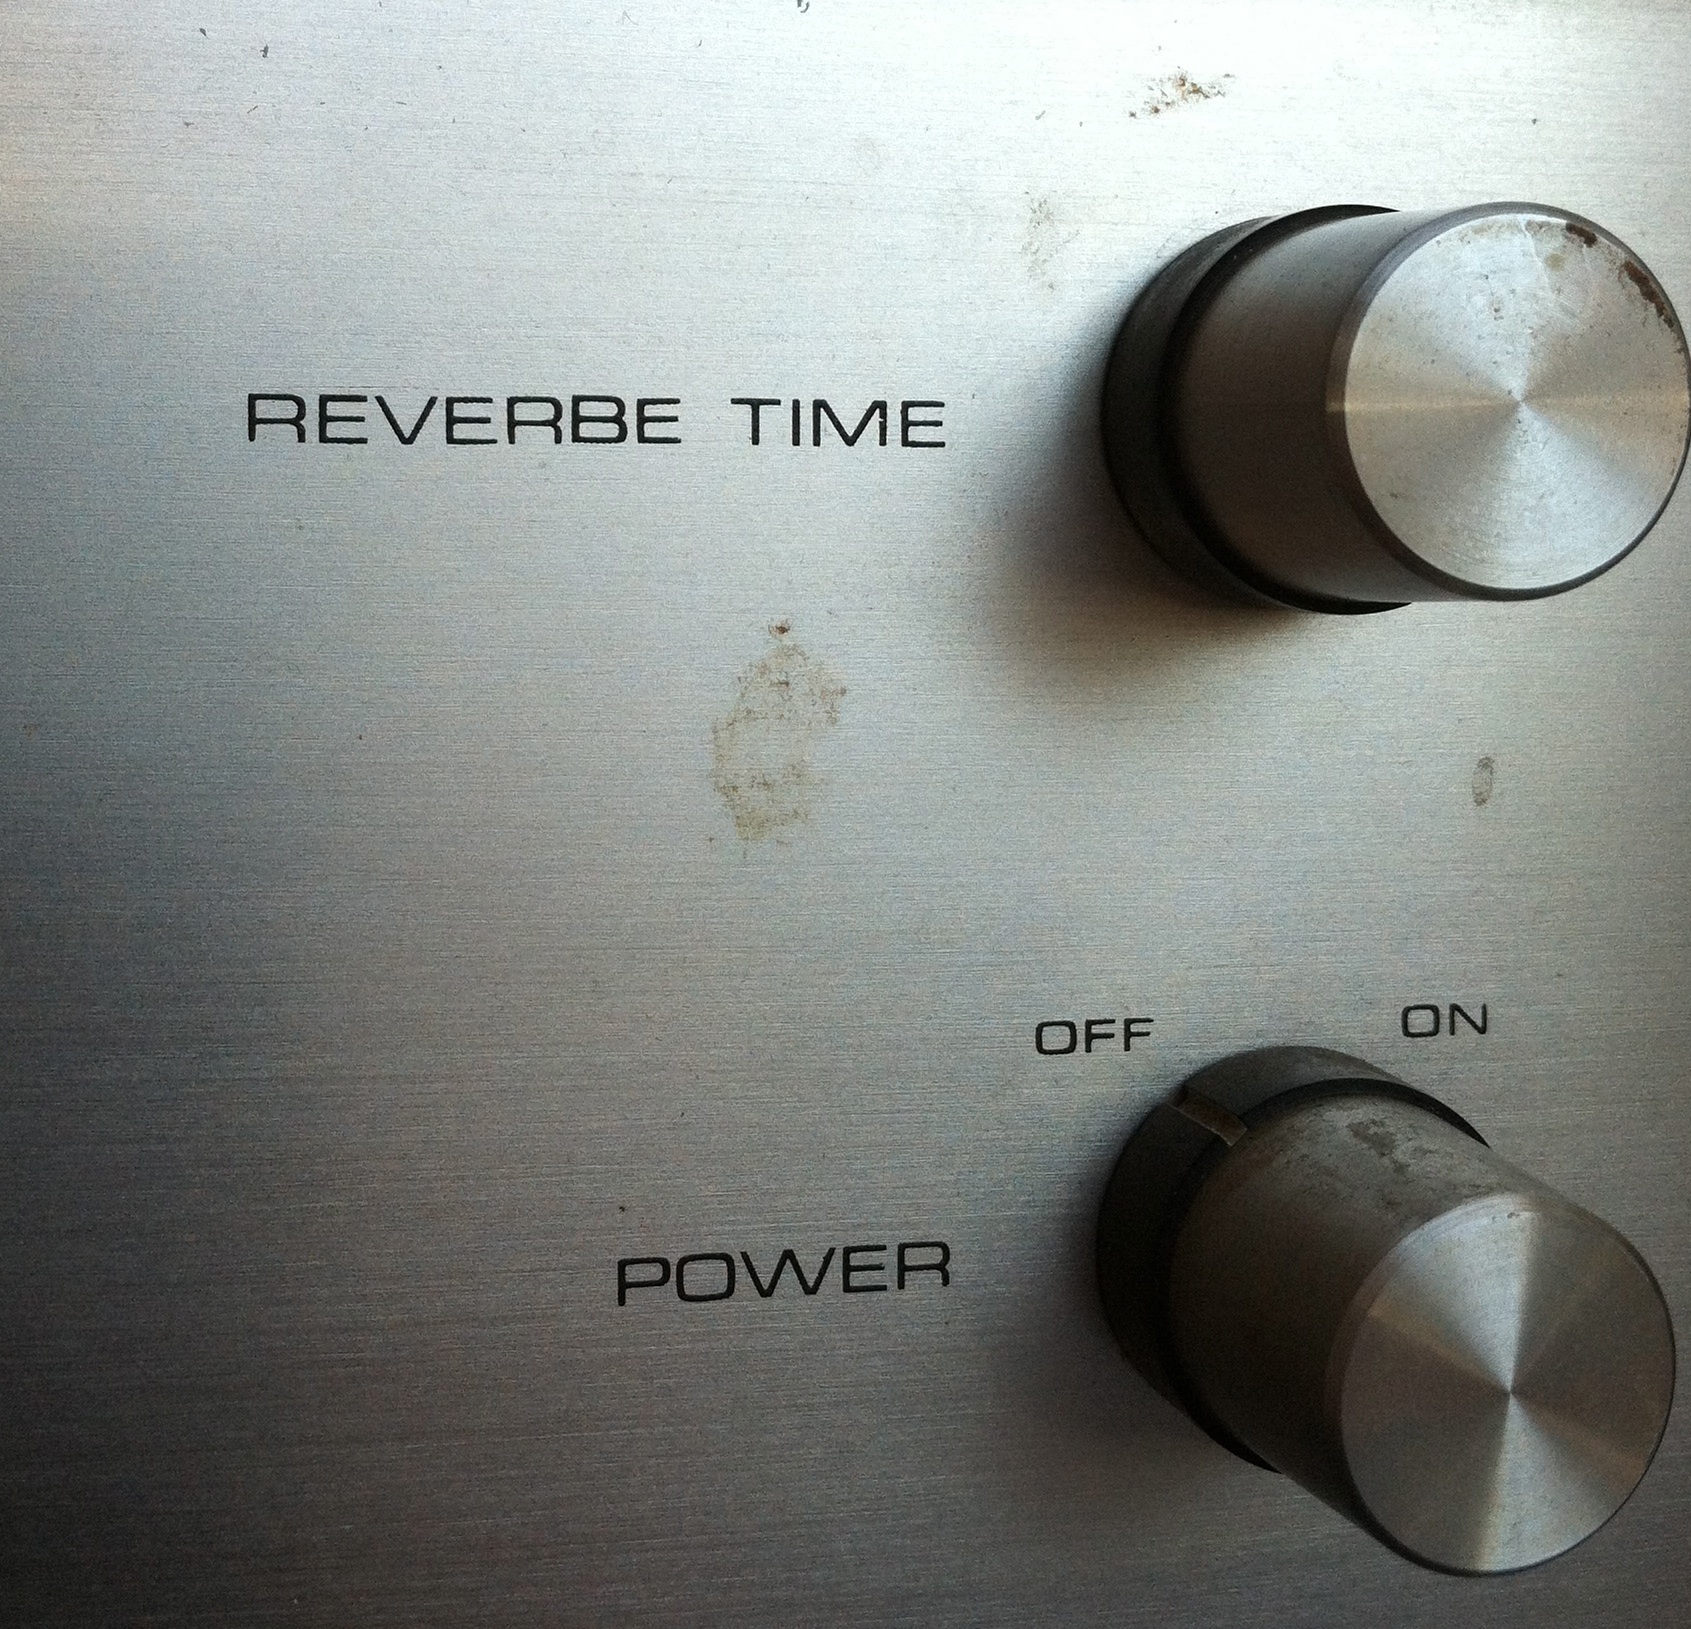 And above: the sole audio control on the unit, charmingly labeled ‘REVERBE TIME’ Yes Reverbe. Love it. As the schematic reveals, this is simply a passive gain control in the tank pickup amps. So yeah it’s a one-sound box. But it’s a glorious sound. This dusty gem just got put in GCR today, so once I get a chance to try it on a mix I’ll post the results.
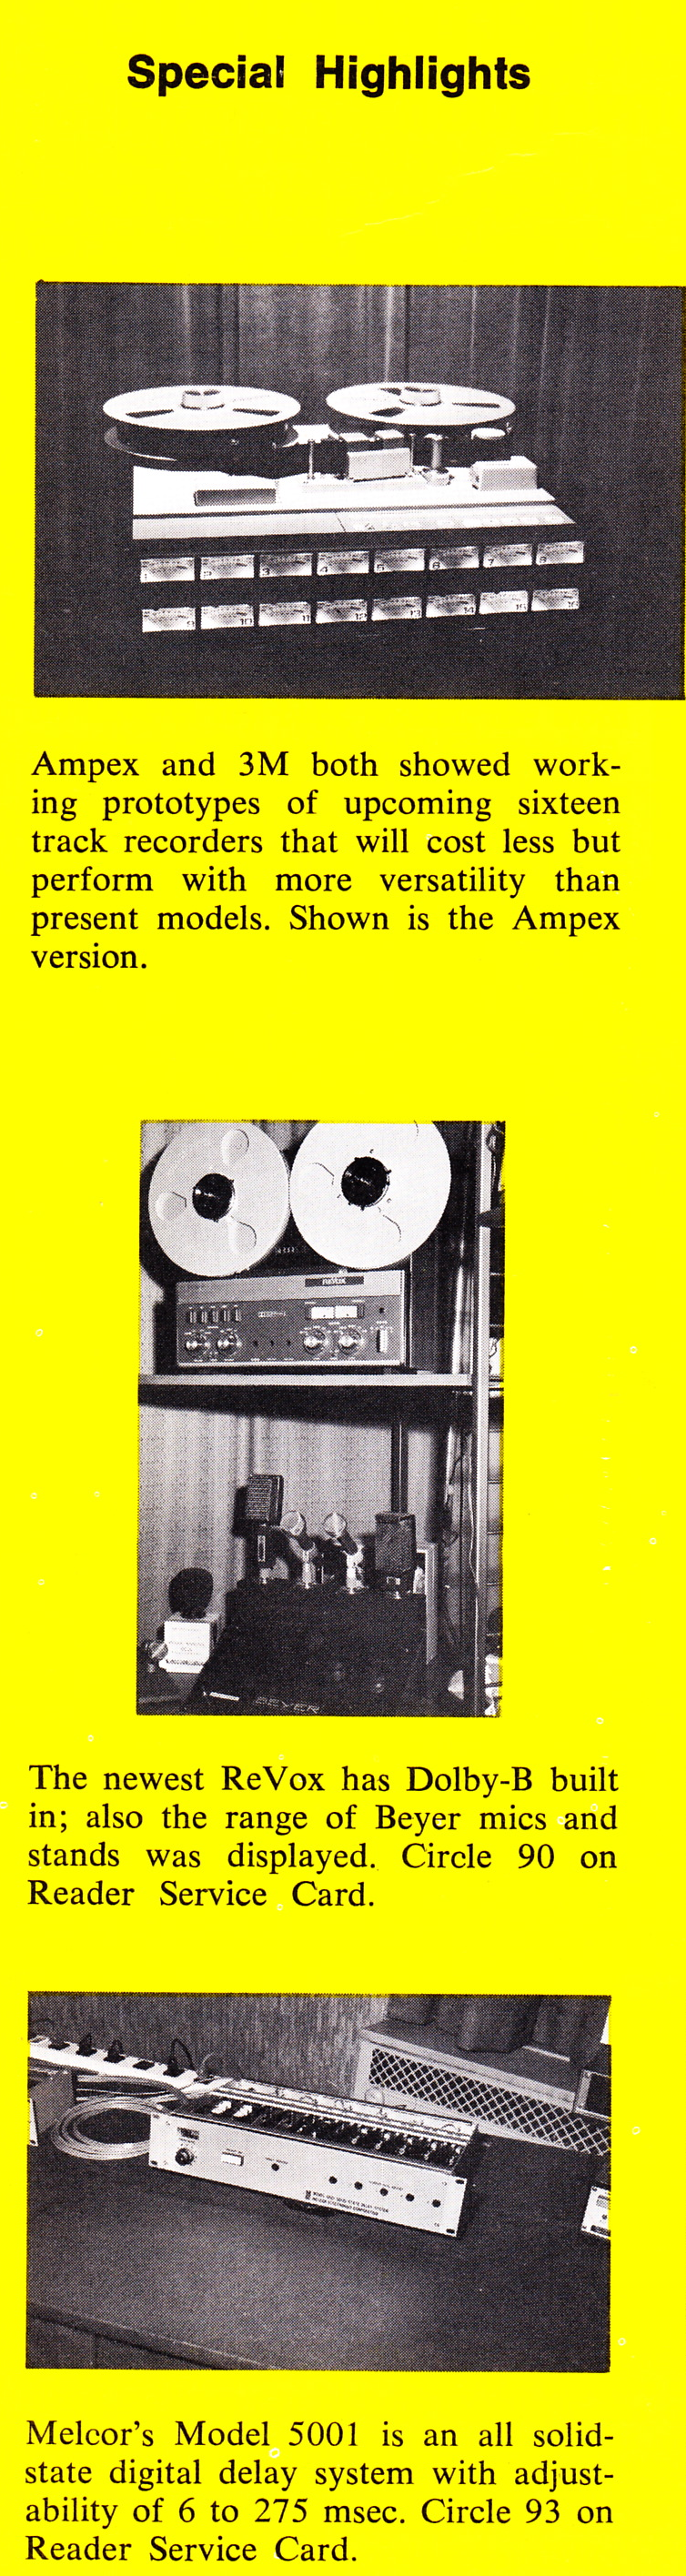
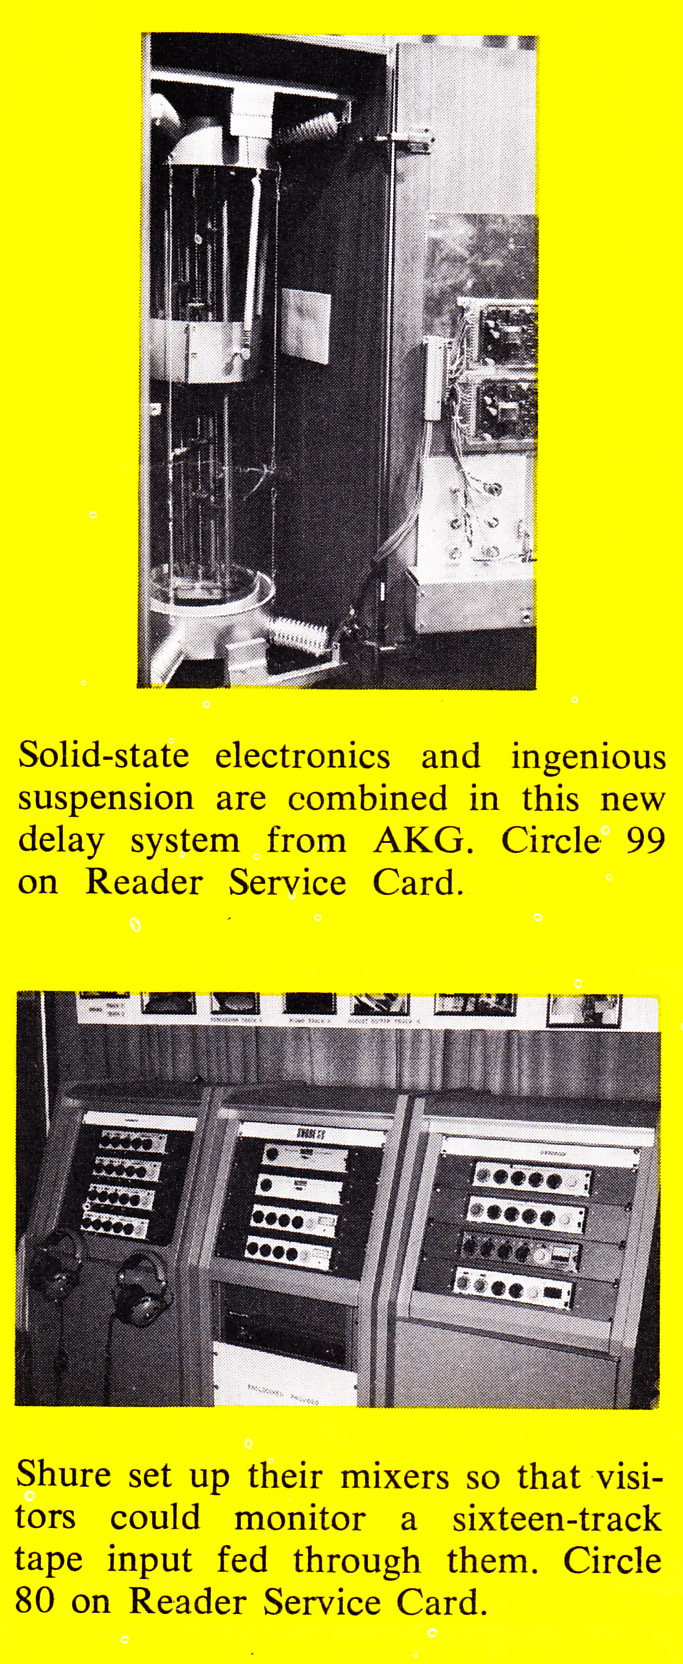
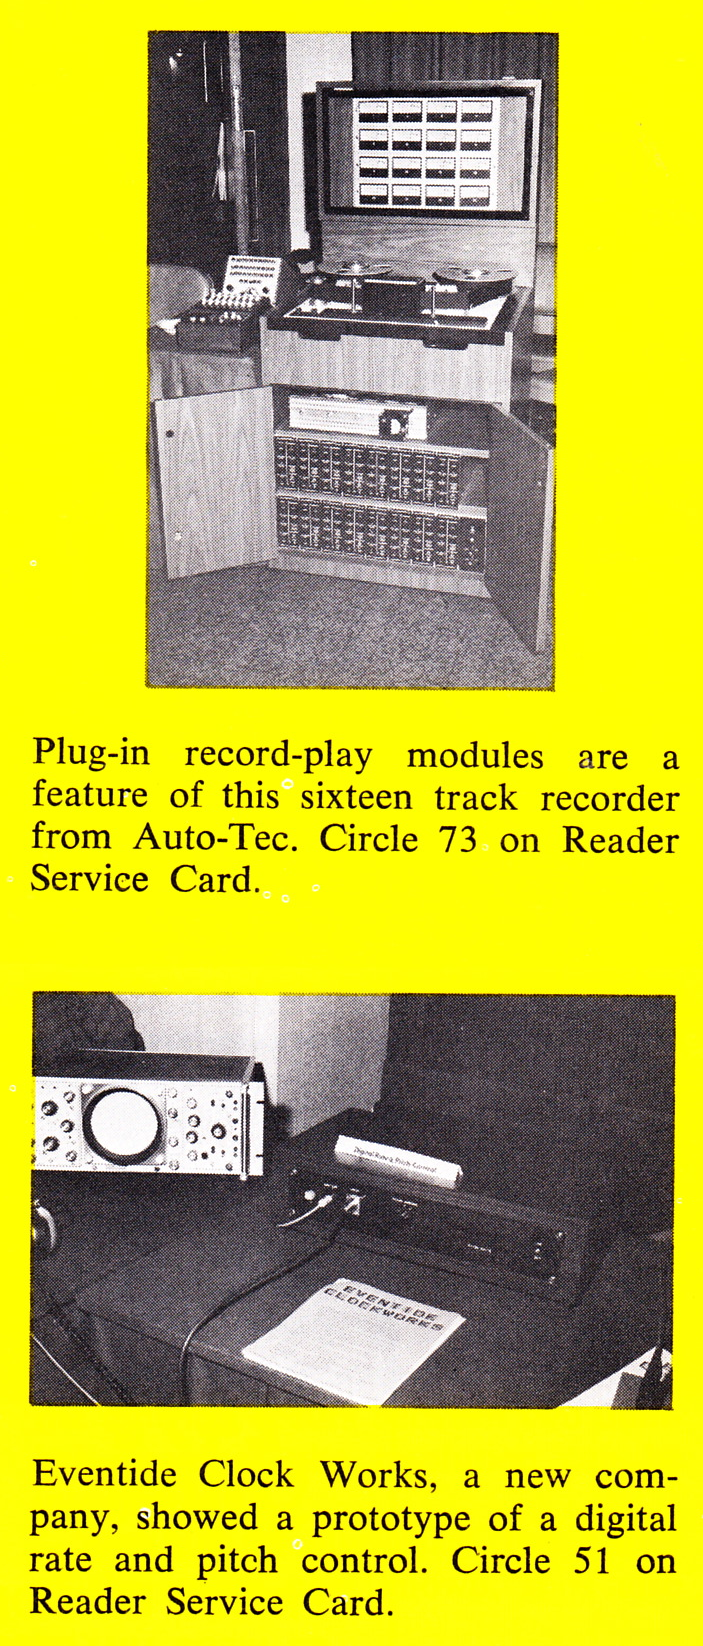
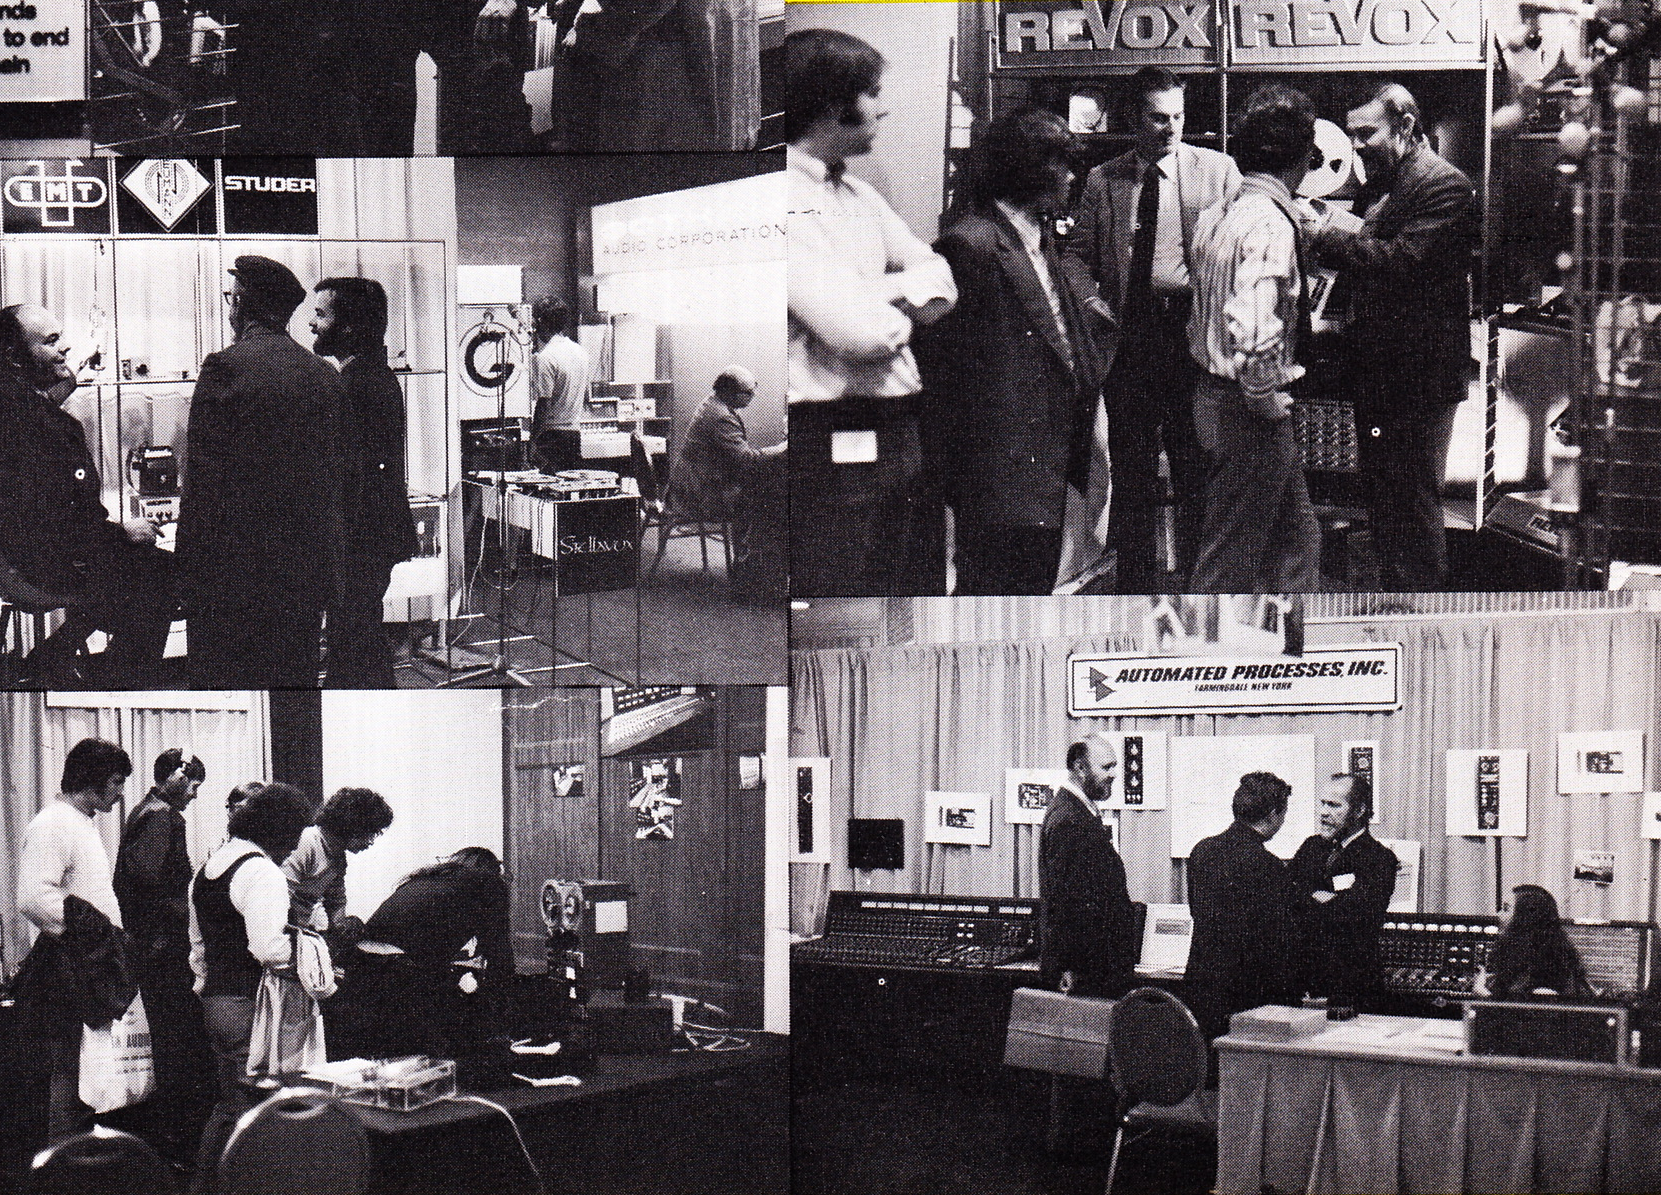 ,,,and today, perhaps unsurprisingly: some of the new kit unveiled in 1971 at the NYC AES show, also via DB mag. Of note: Auto-Tec, Scully, Ampex and 3M intro’d new 16-track machines, Neve made a push for a new console (would this have been the series 80?), AKG introduced the BX-20 reverb, Melcor showed its model 5001 electronic reverb (anyone???), and a new company called Eventide introduced a digital pitch-shift device! The Neumann U47-fet and Sennheiser MHK-815 mics were introduced, as were the Marantz 500 and Crown M2000 power amplifiers.